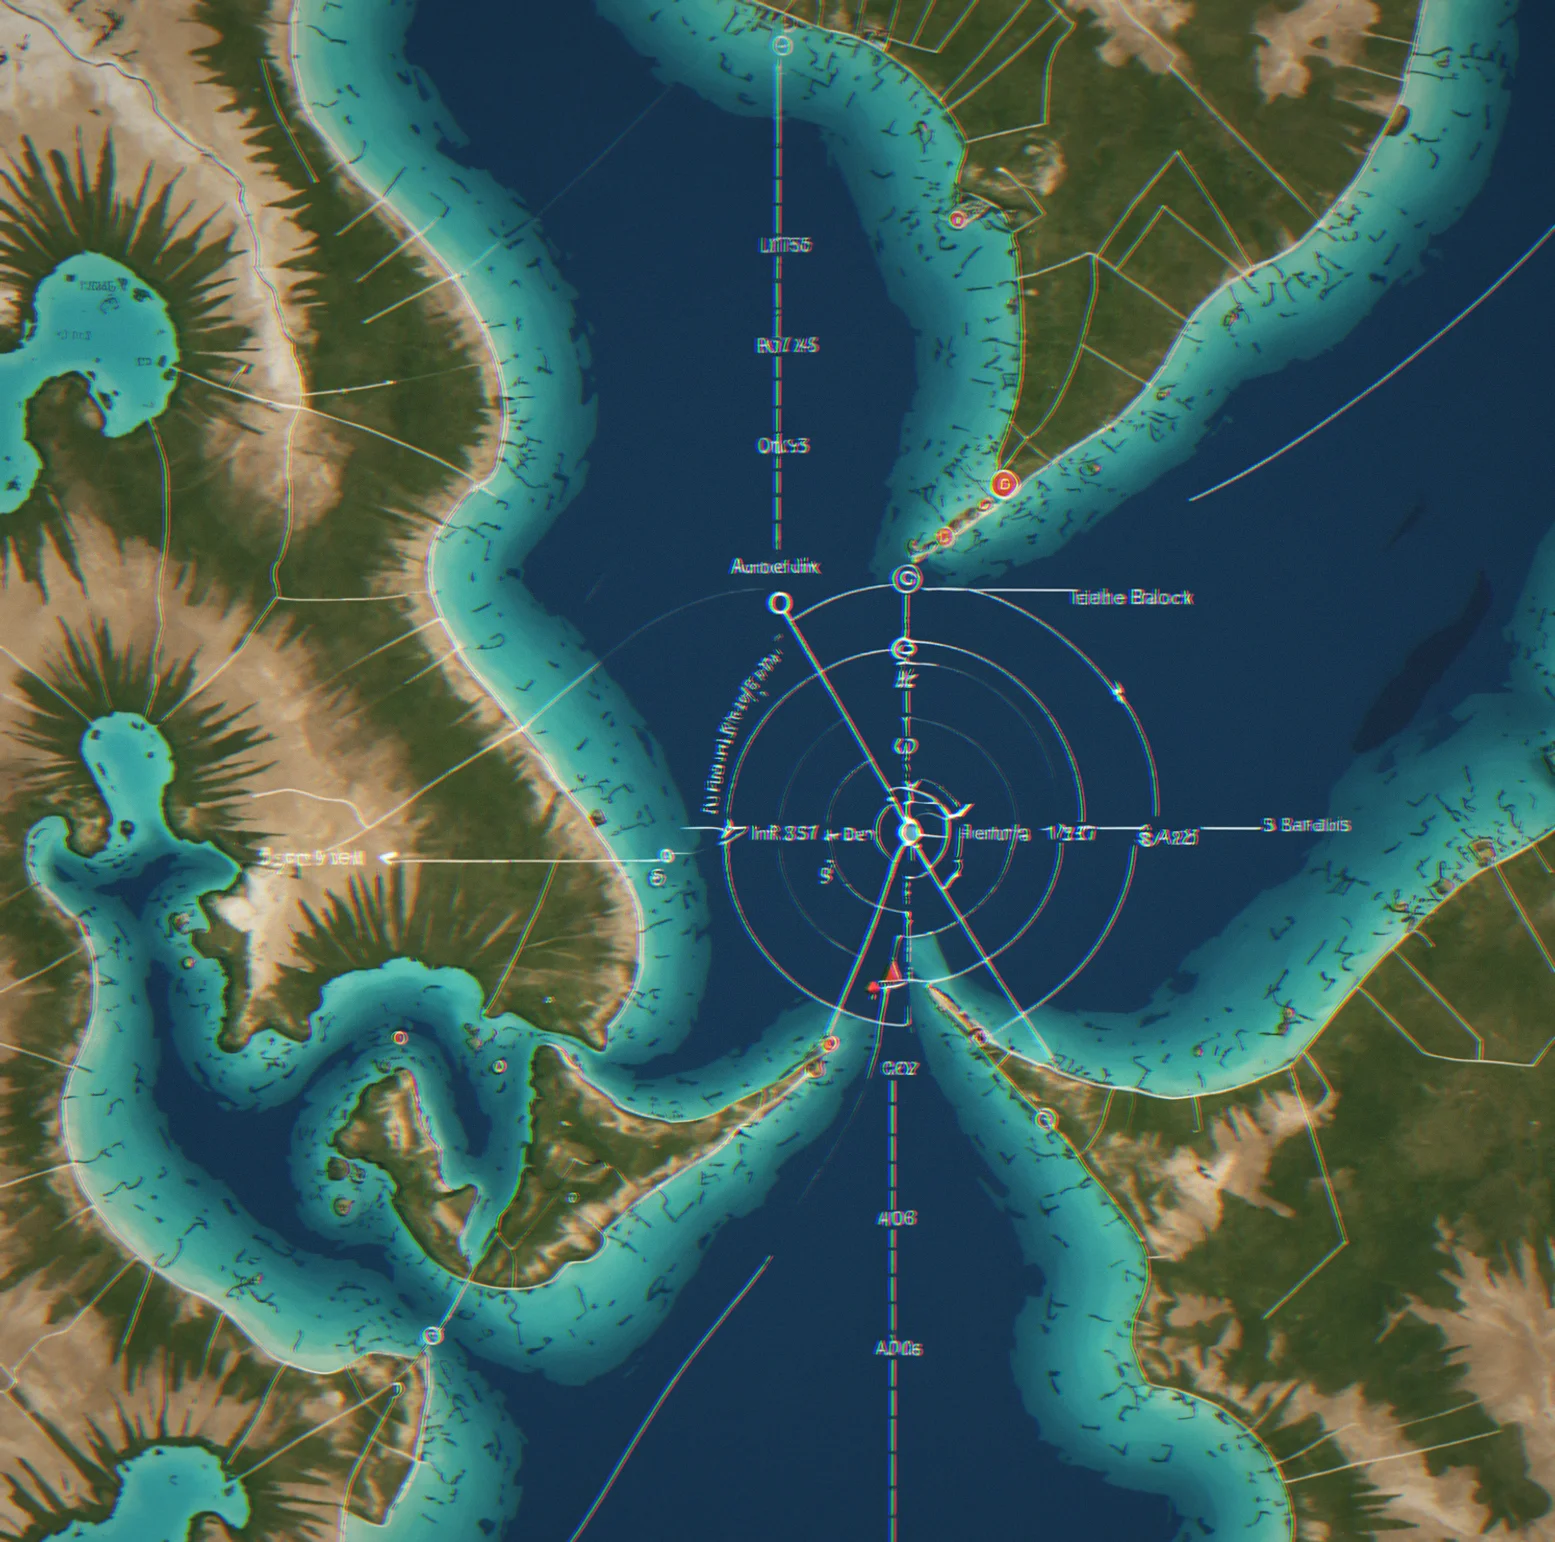
Tidal Current Simulation
The tide shifts every hour—different strength, different direction. You read the chart, figure out where it's going, and plan around it. Miss a flood at a knot and a half and you're anchored in the wrong spot entirely.

Get your anchors right. Skip the workarounds.
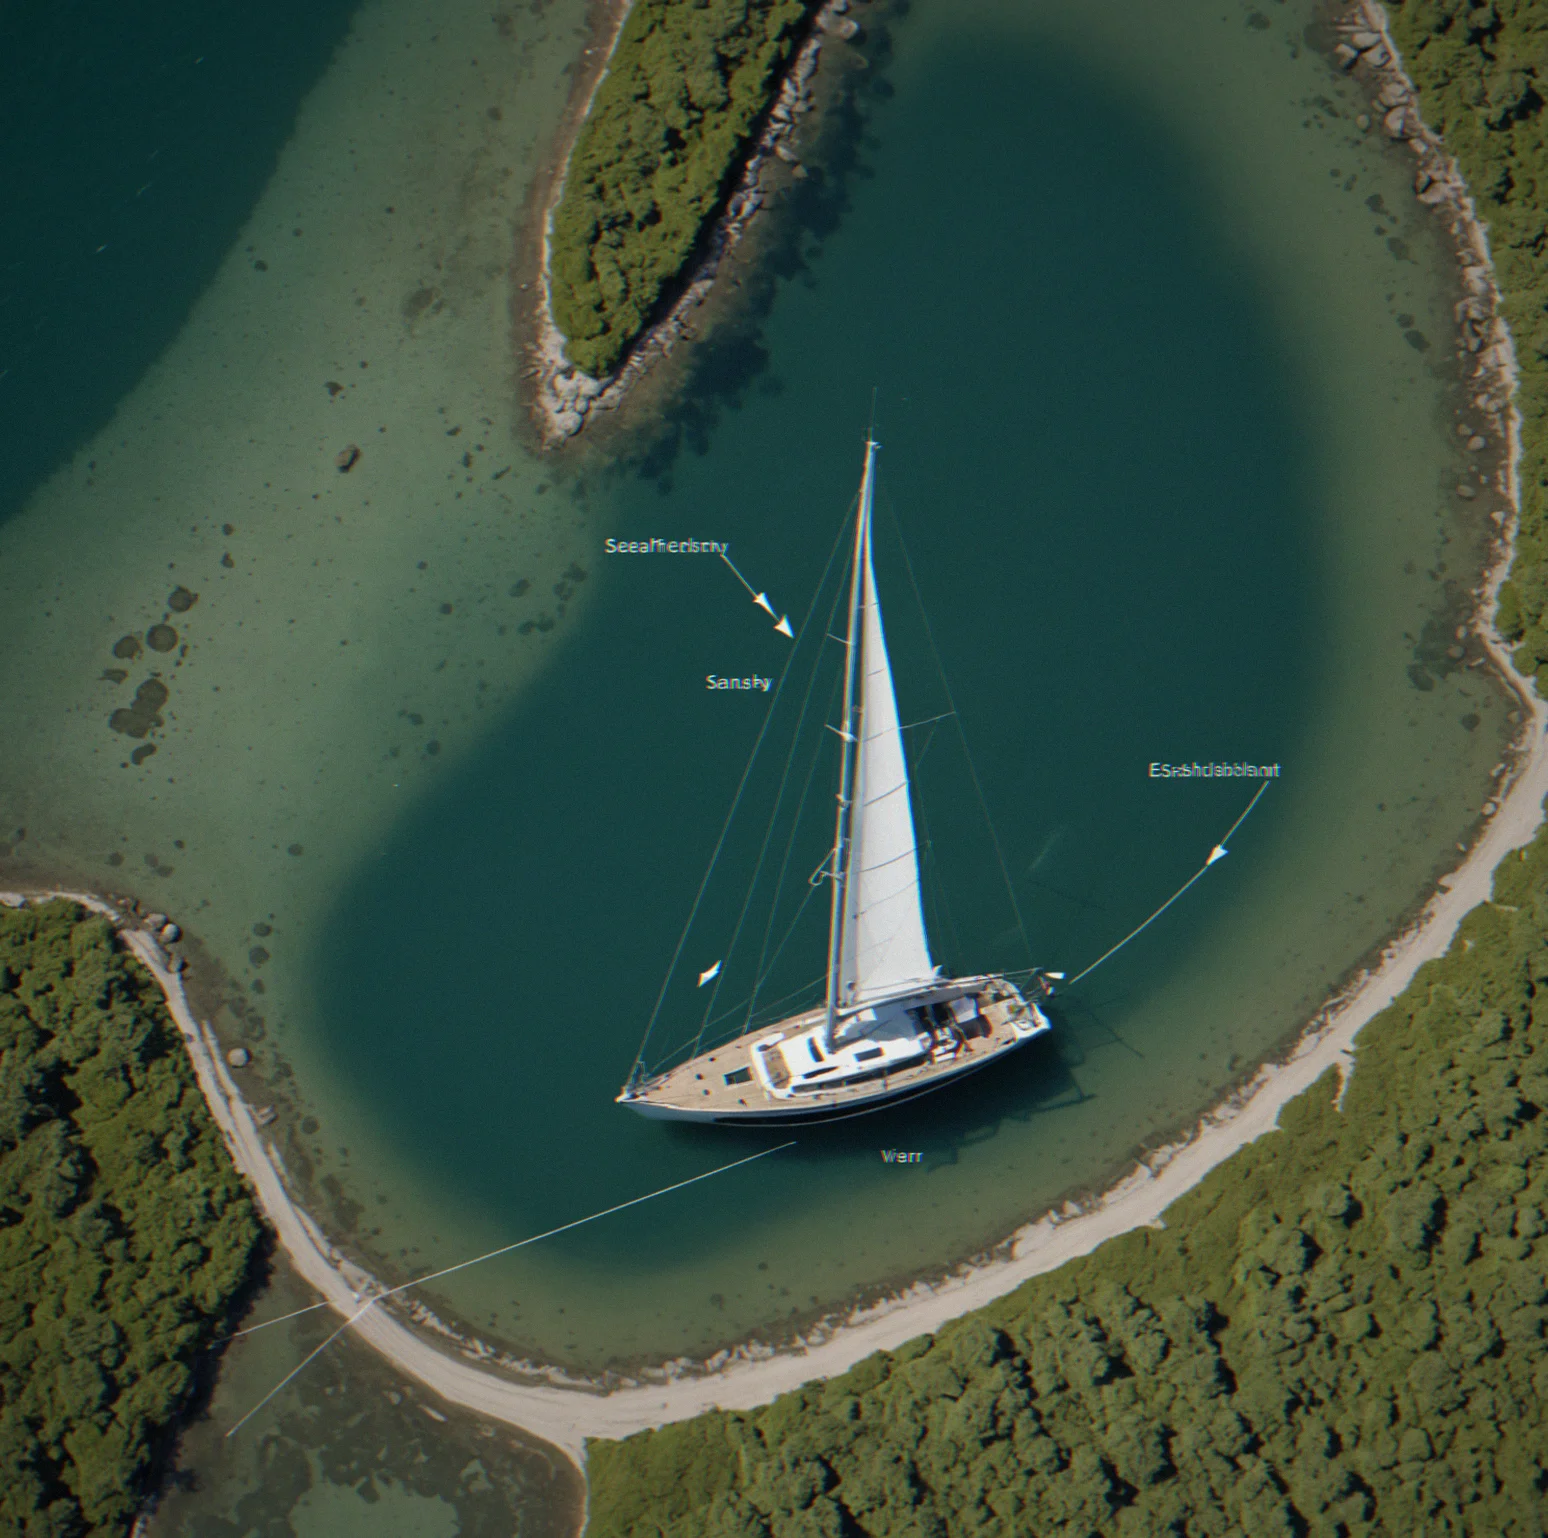
Read the tidal current. Check the seabed. Set the scope. Everything else fails.
Smoothanchor gets rid of the story stuff. You're dealing with actual numbers: tidal set in knots, depth soundings from the chart, seabed type (mud grips different than sand; rock grips nothing). Your anchor drags if the scope is wrong. Drags if you got the holding ground wrong. The game won't let you guess your way through—it rewards getting it right. The physics isn't dumbed down for entertainment; it works like real anchors do. No easy mode. No difficulty settings. Just you, a chart, and whether your boat stays in place when the wind hits at 0300.
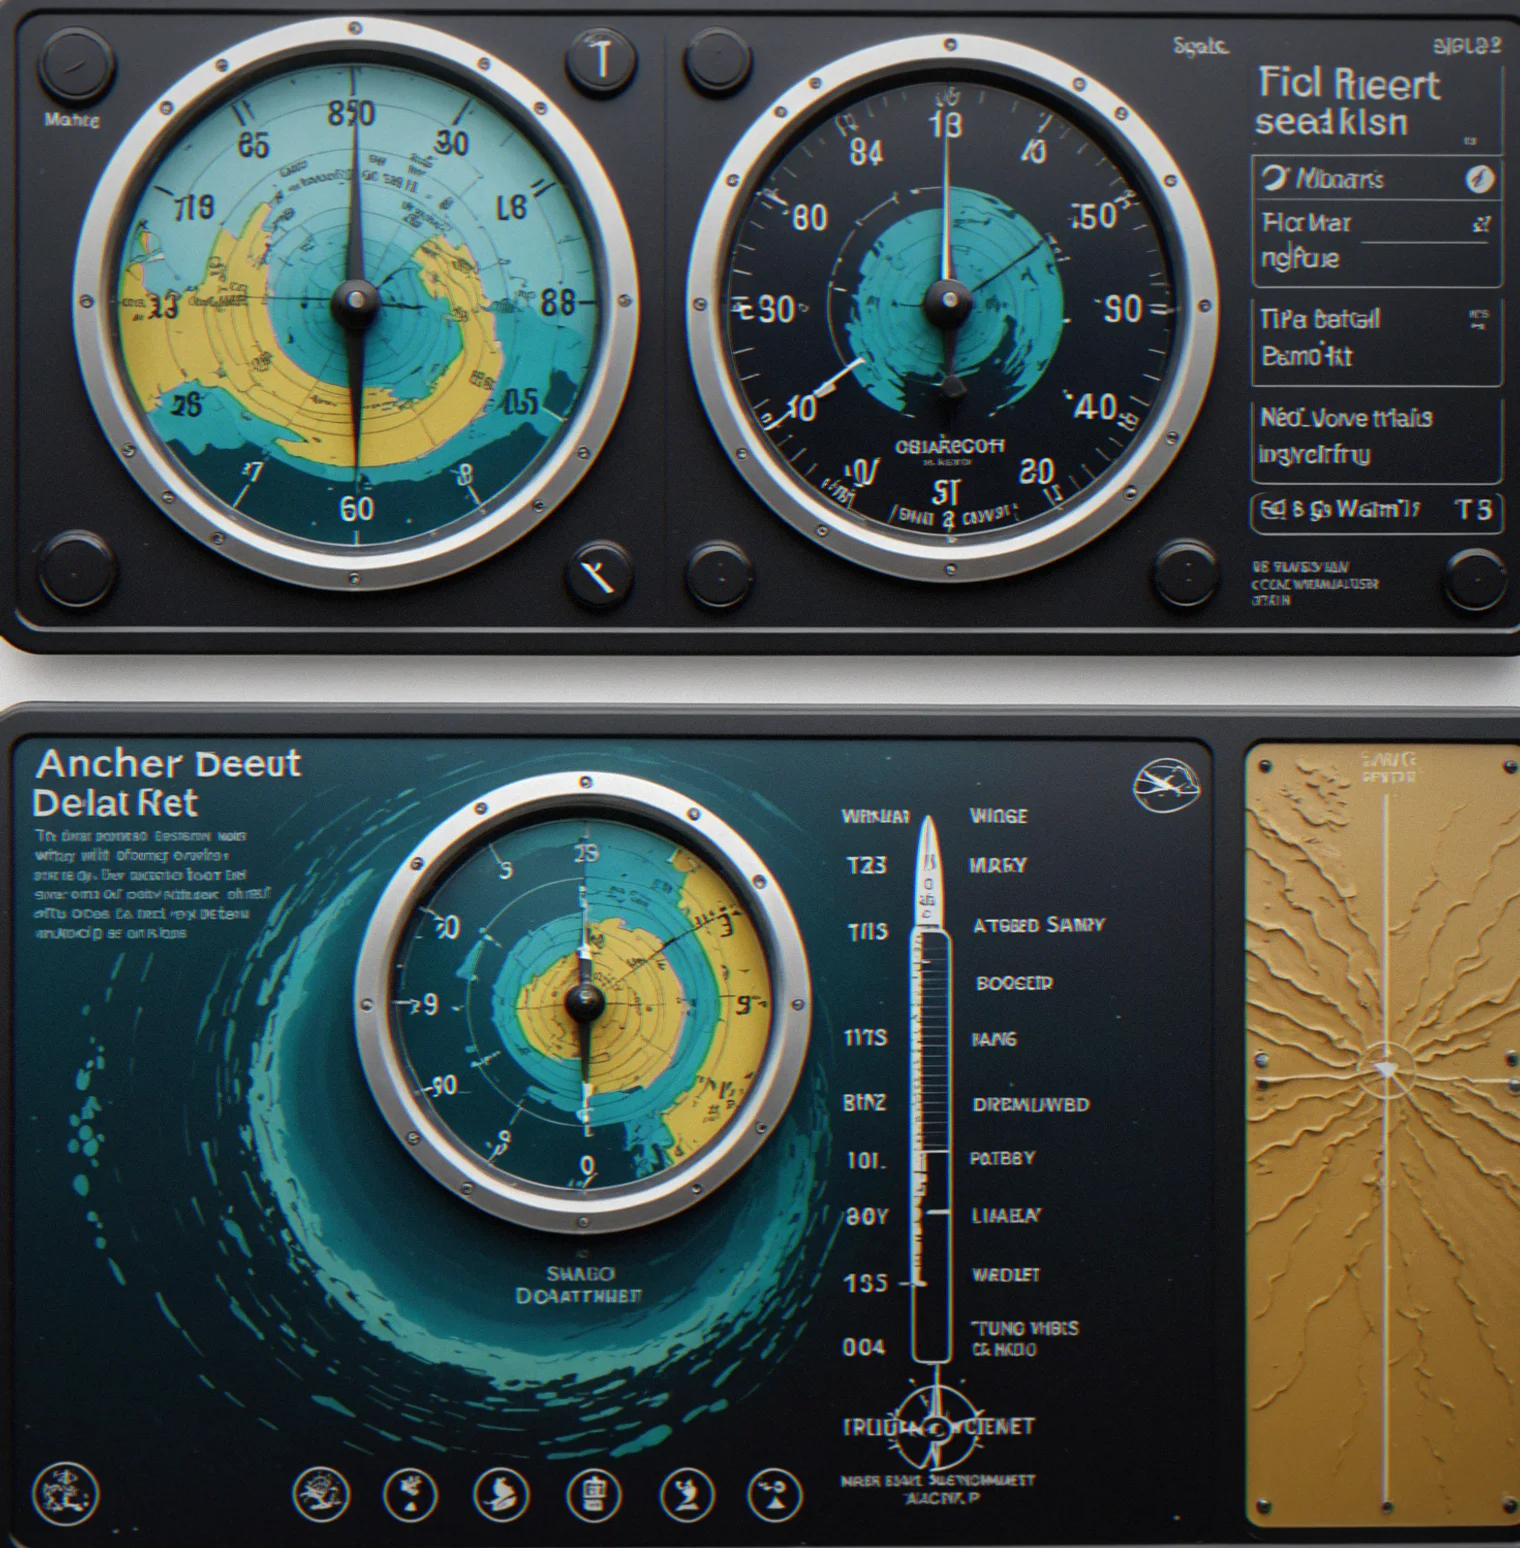
Anchoring in Smoothanchor isn't something that happens in a cutscene or watches you wait for a progress bar to fill. You pull into an anchorage and the real work begins: you read the tidal chart, check what the depth soundings tell you, figure out what kind of seabed you're dealing with, then decide how much scope to lay out. In good holding ground you're lokking at something like seven-to-one scope. If you're not sure what you've got underneath, bump it up to ten-to-one. Current speed matters a lot — it's measured in knots and it absolutely changes the picture. A 2-knot flood tide coming the opposite direction of where you want your boat to swing? That changes everything about where you'll actually end up. Wind and current don't just add together like forces on a math test. They create a resultant vector that determines how your boat orients itself. Mud holds differently than sand. Rock won't hold at all unless you've got enough scope keeping tension on the line. You work all this out before you drop the anchor. Not enough scope and you're sitting there watching your anchor drag across the bottom in real time, your boat drifting toward the lee shore. Too much scope and you've used up chain you might desperately need later.
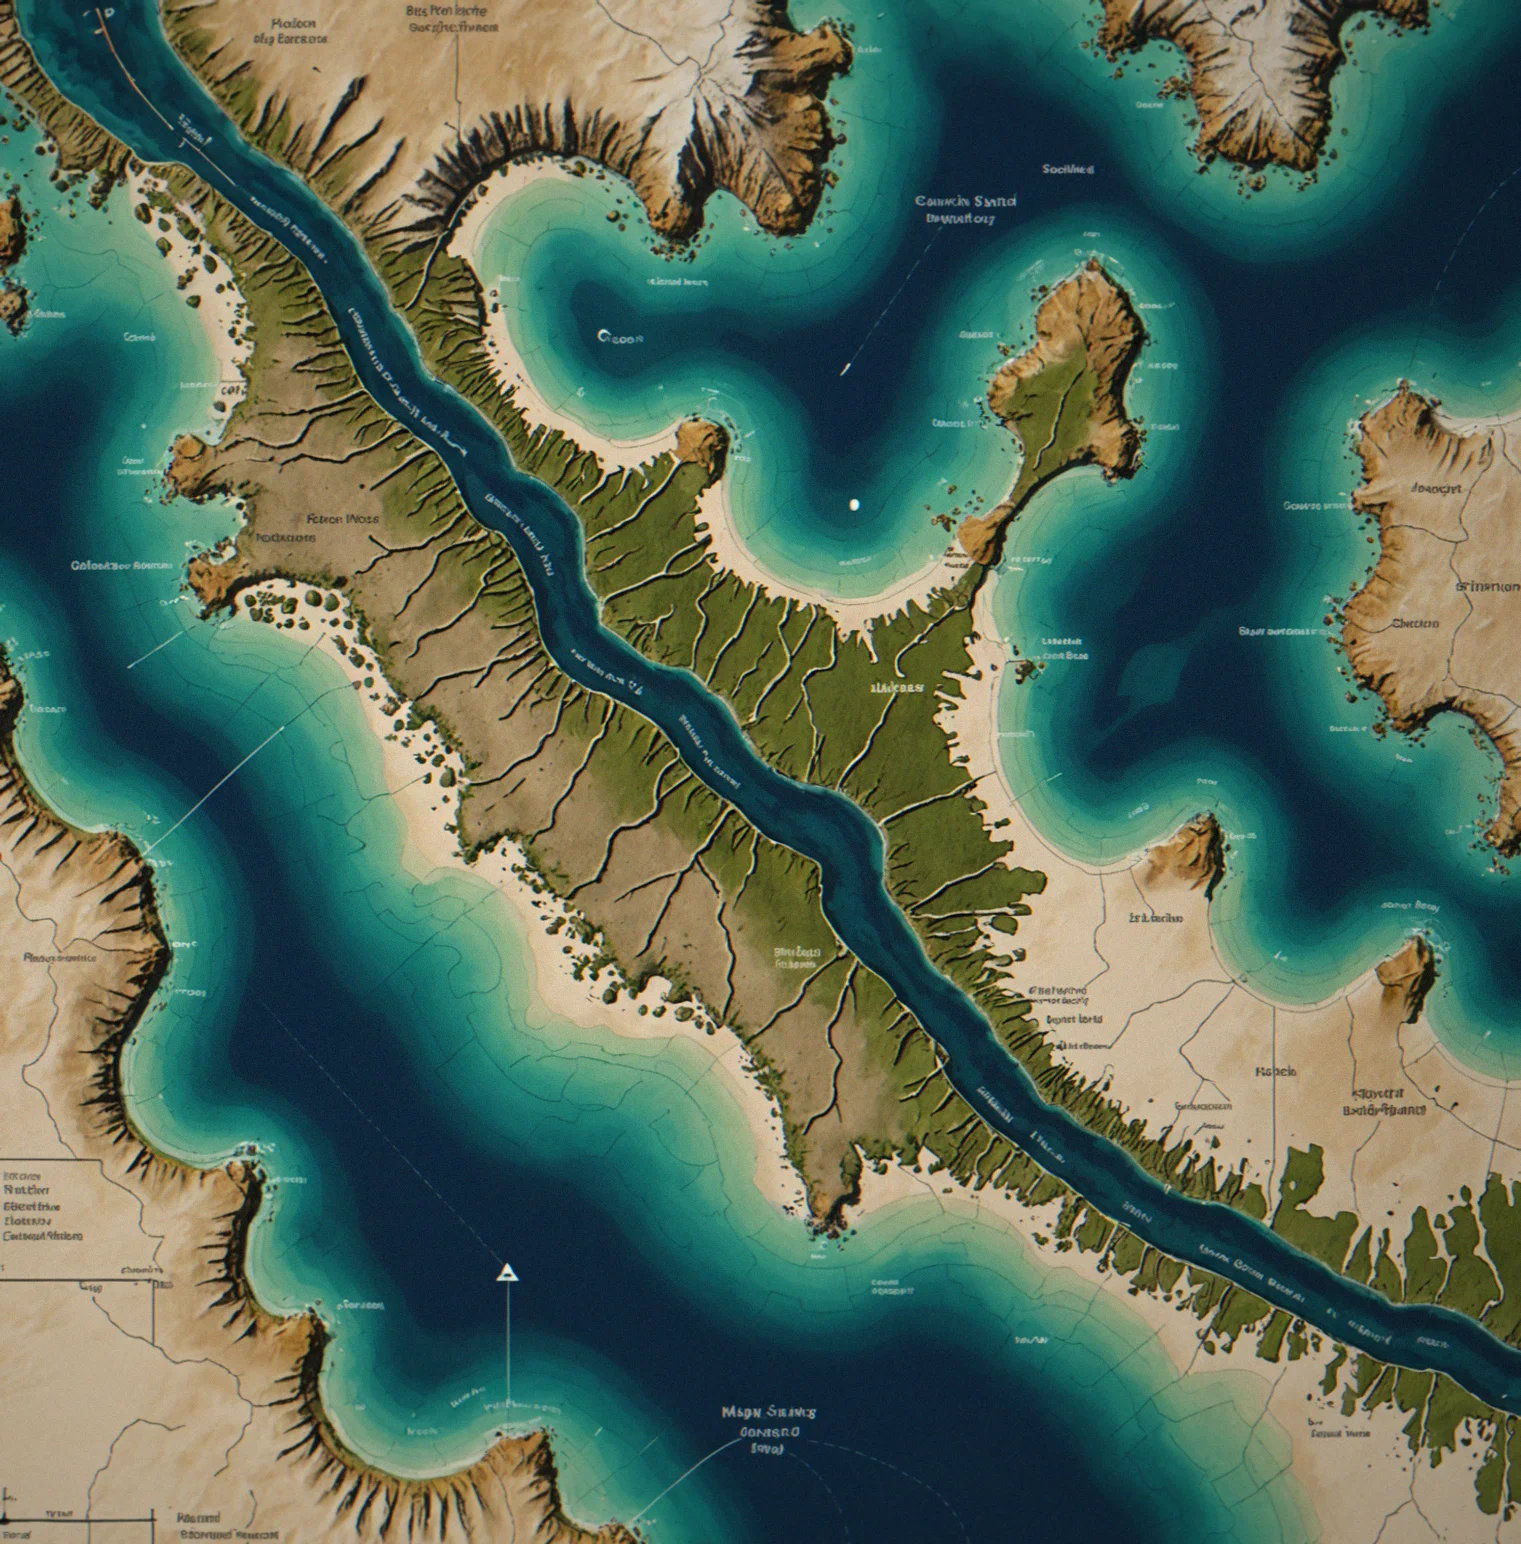
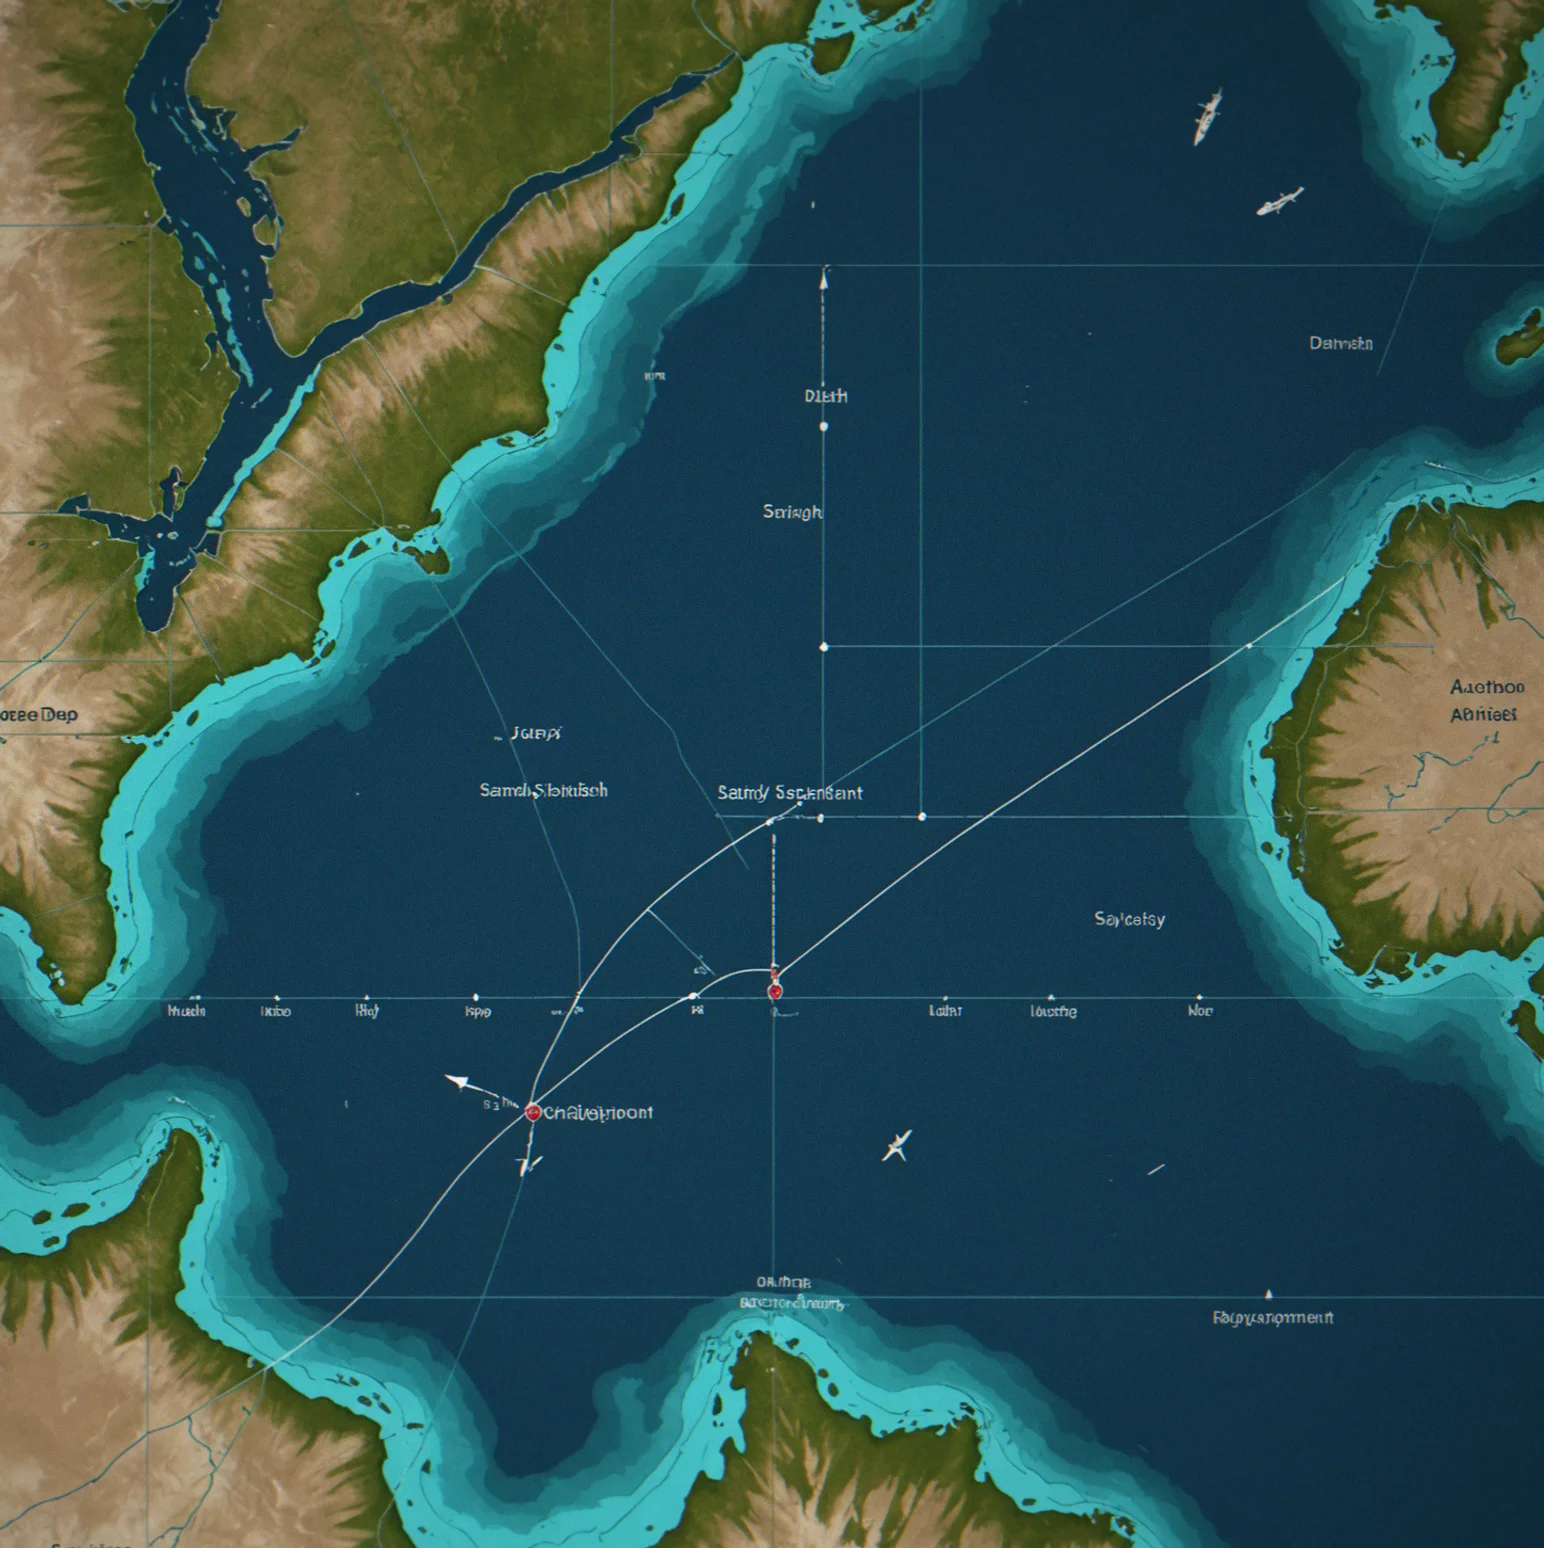
This one updates hourly as the tide moves through. Say you're getting a 1.5-knot set pushing northeast while you're trying to position your boat south — that completely changes where you actually drop. You can't just anchor in the middle of the drift and hope it works out.
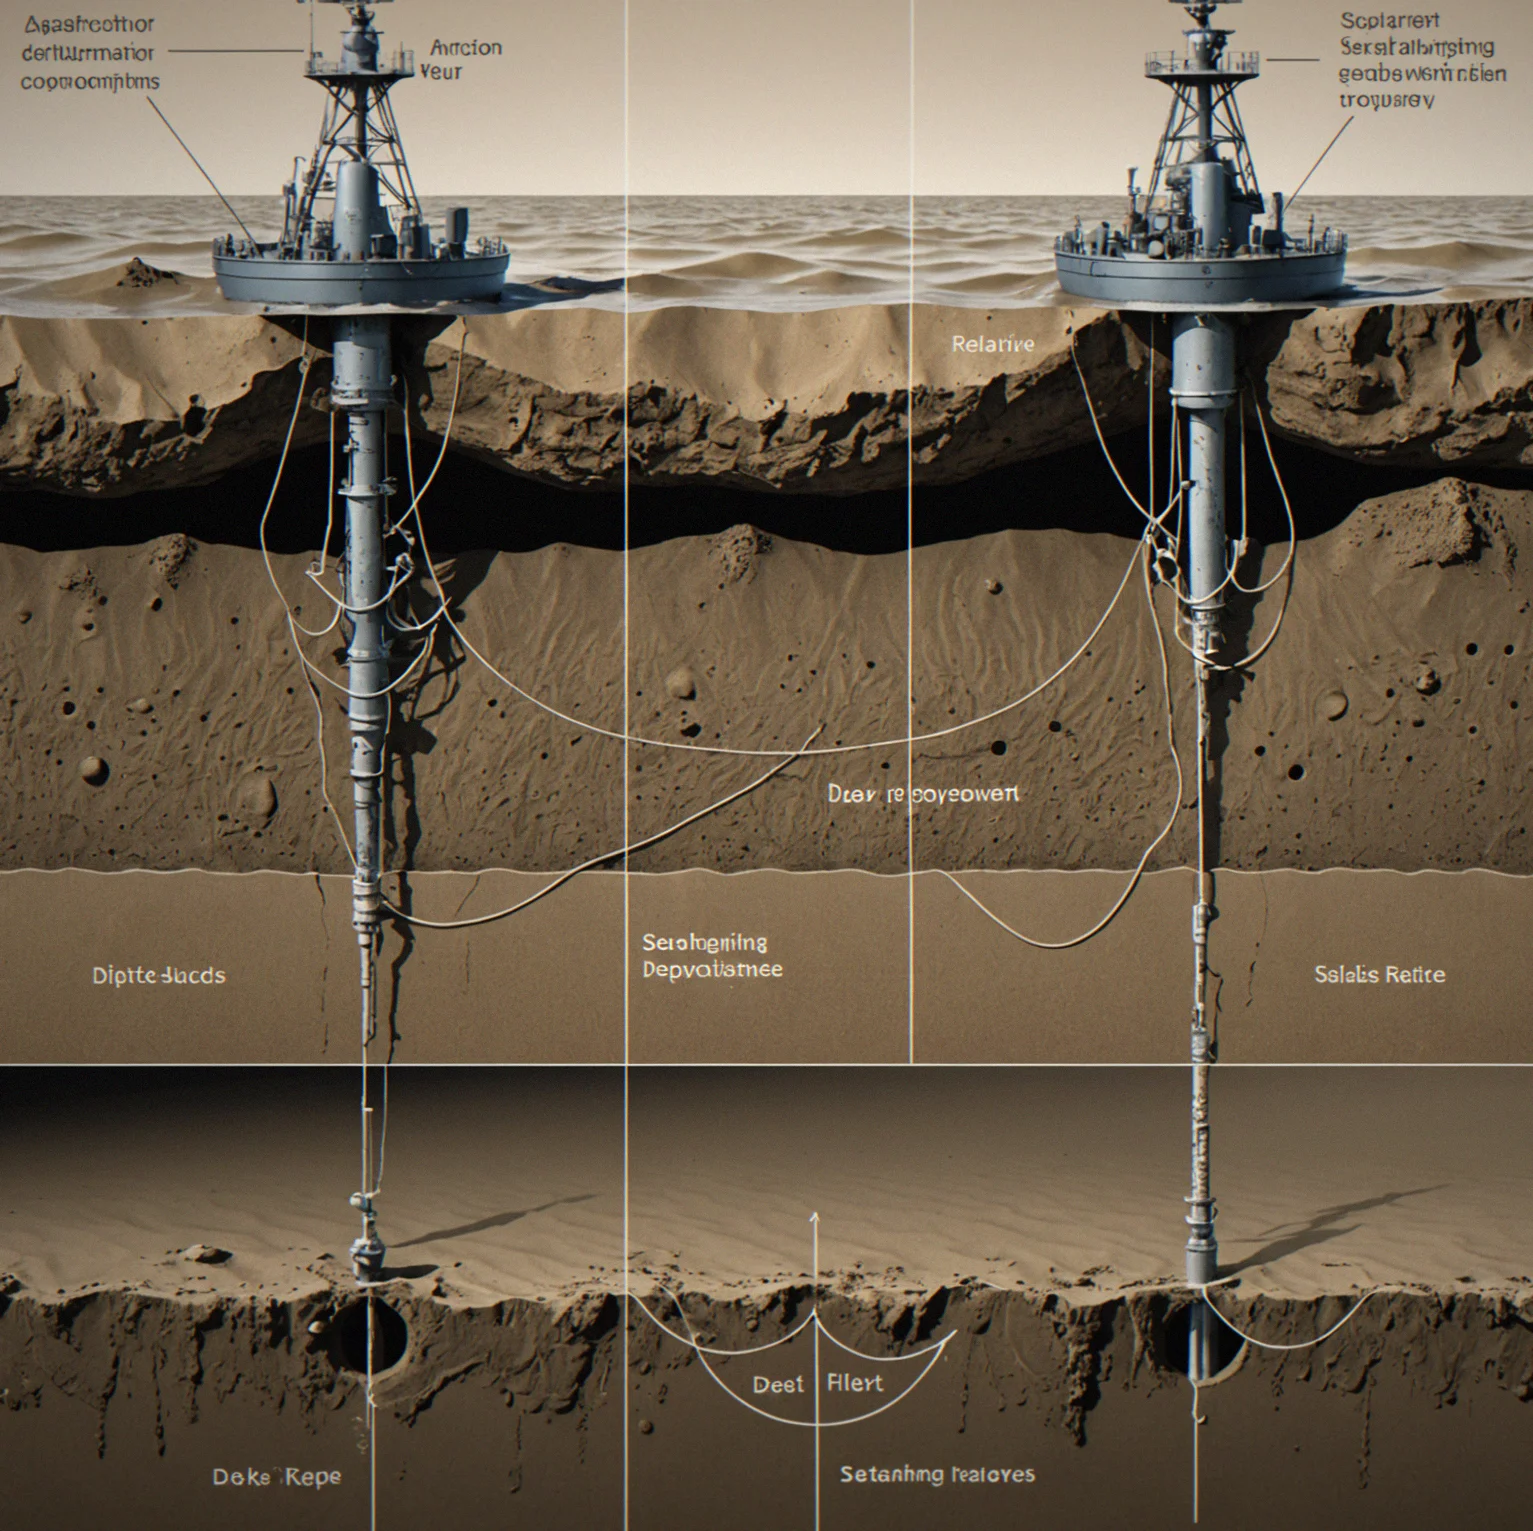
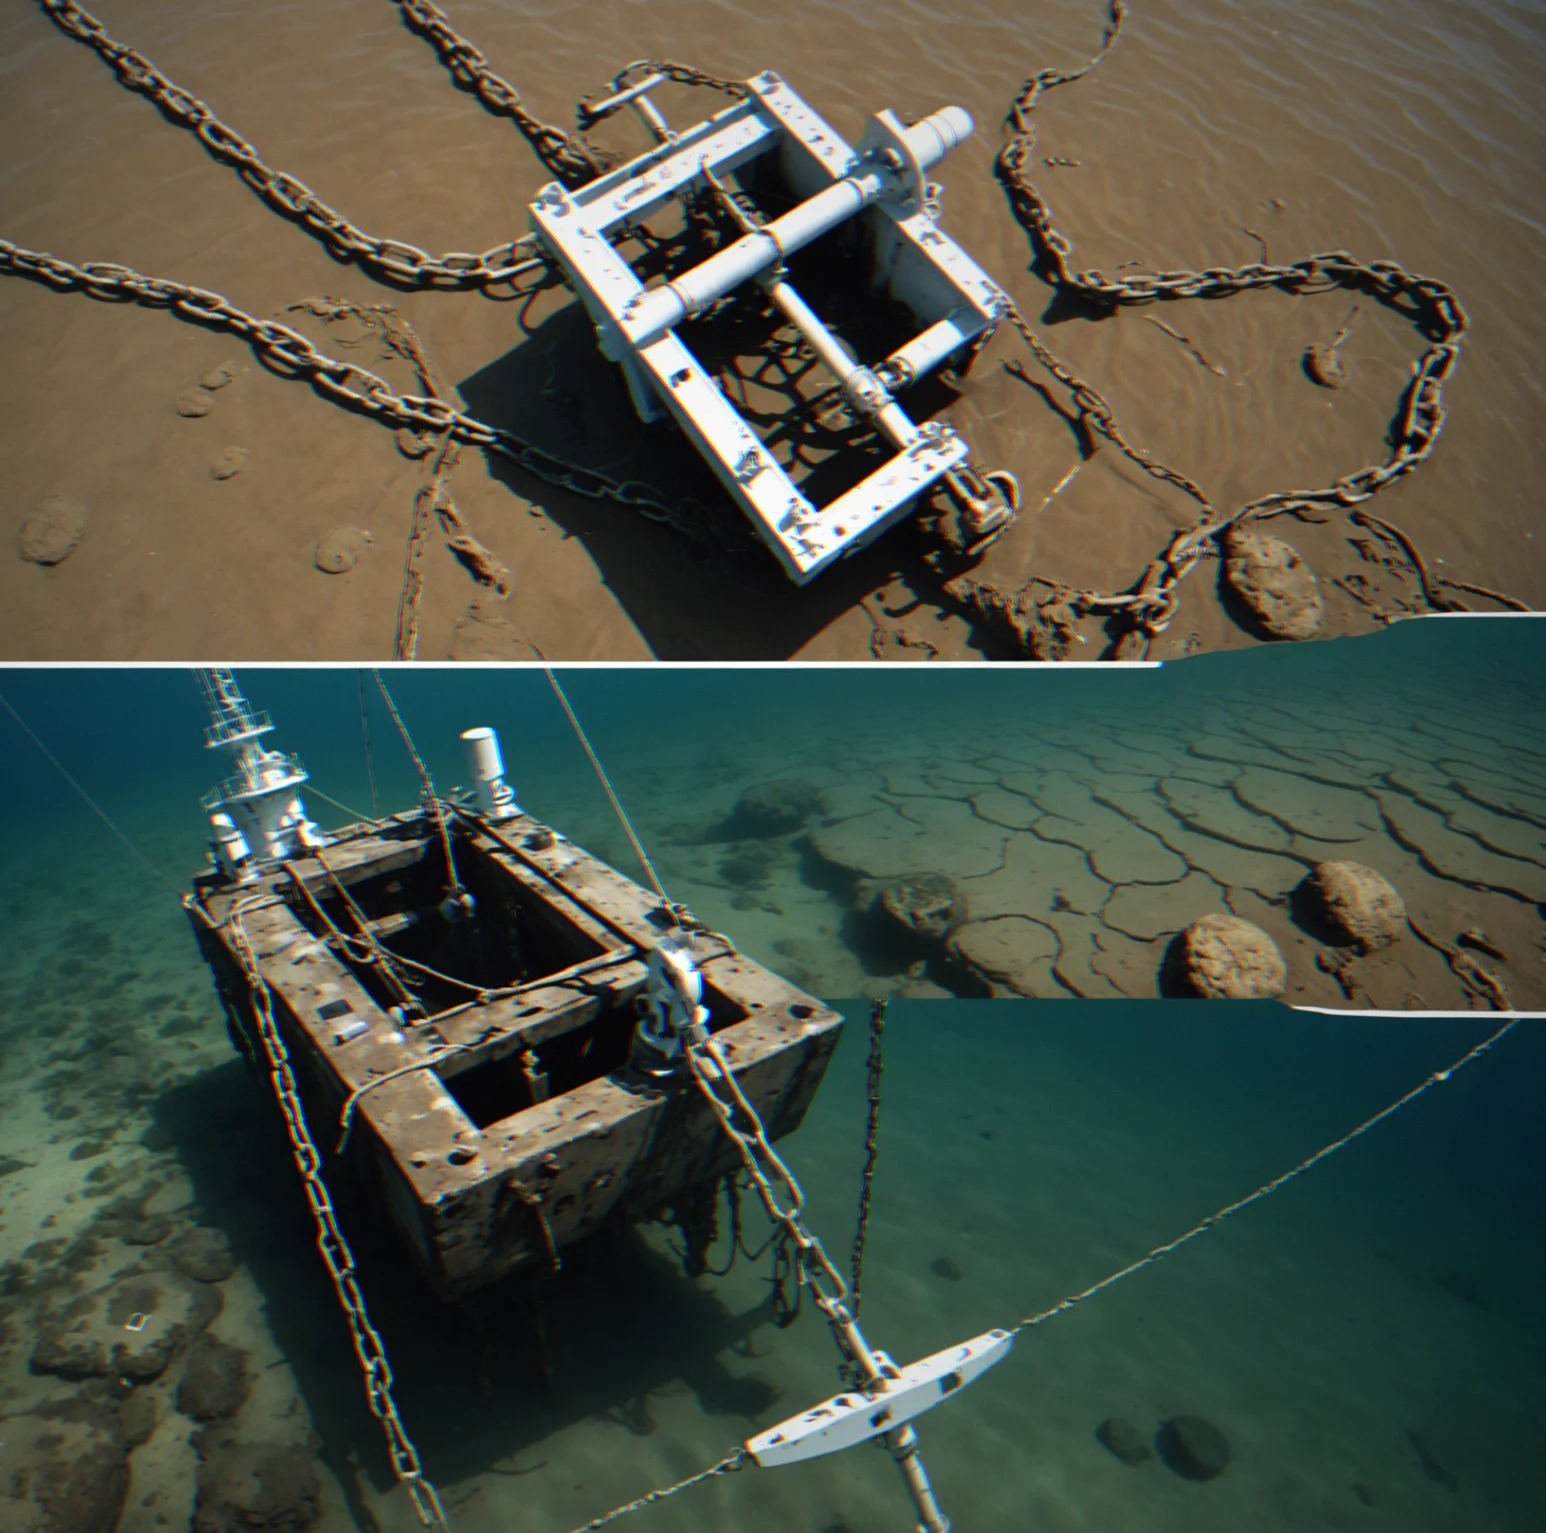
Mud grabs the chain in a way sand or shale never will. The game pulls from real holding-power coefficients, so the mud in one estuary doesn't grip the same as mud forty miles north. What the chart tells you about the bottom is what you're really anchoring into.
Take the depth, multiply by seven or ten, and that's your scope. You do the math before you drop. A light anchor in bad holding ground needs way more scope than a heavy plow in thick sticky mud, but your chain doesn't stretch forever. Get it wrong and you're dragging.
How the simulation actually works
The tide shifts every hour—different strength, different direction. You read the chart, figure out where it's going, and plan around it. Miss a flood at a knot and a half and you're anchored in the wrong spot entirely.
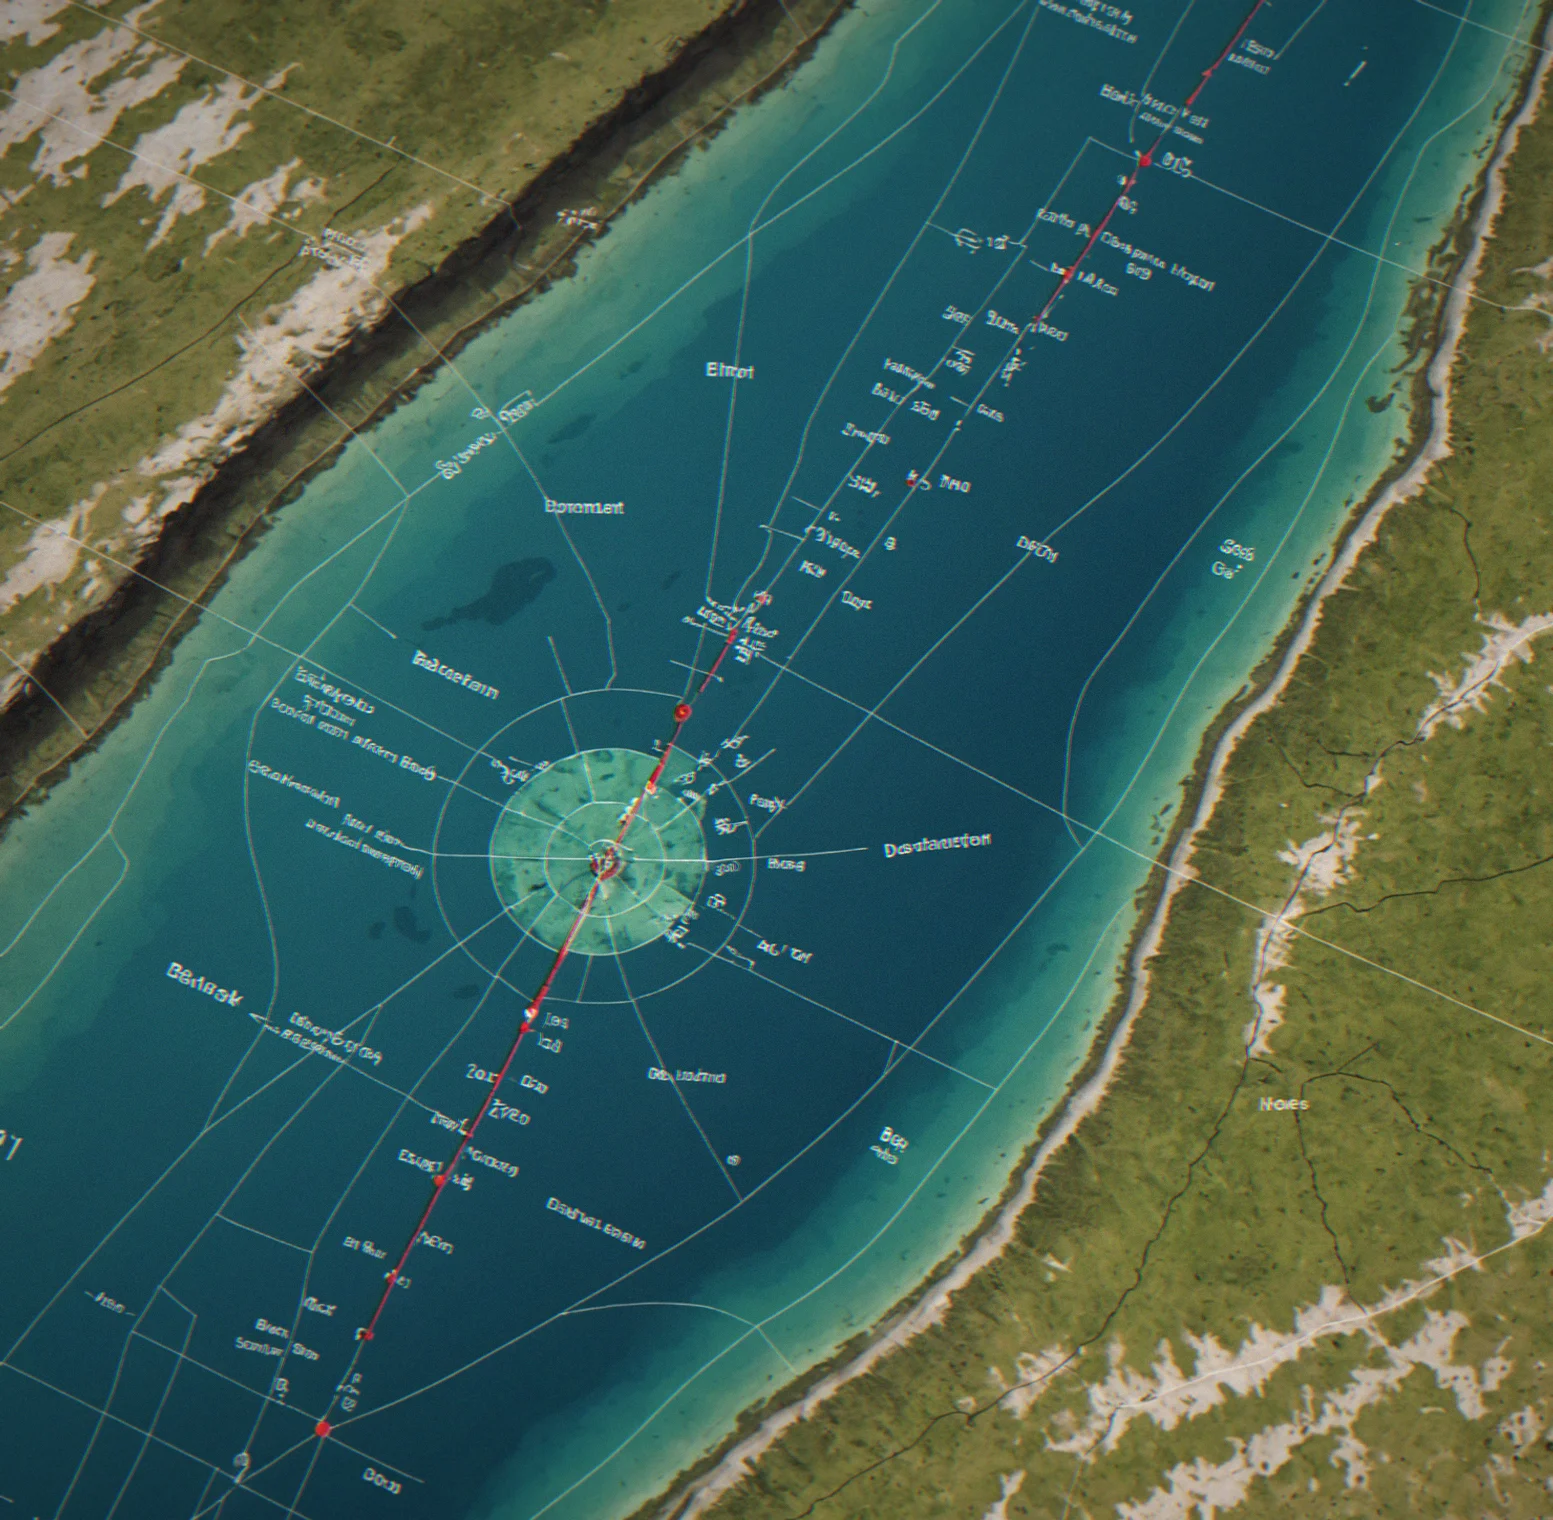
Depth soundings aren't just numbers. They show you the shape of the bottom, where you can position yourself, where you shouldn't be. Shallow water near a lee shore changes everything about your anchorage choice. You figure out scope based on what the water actually measures.
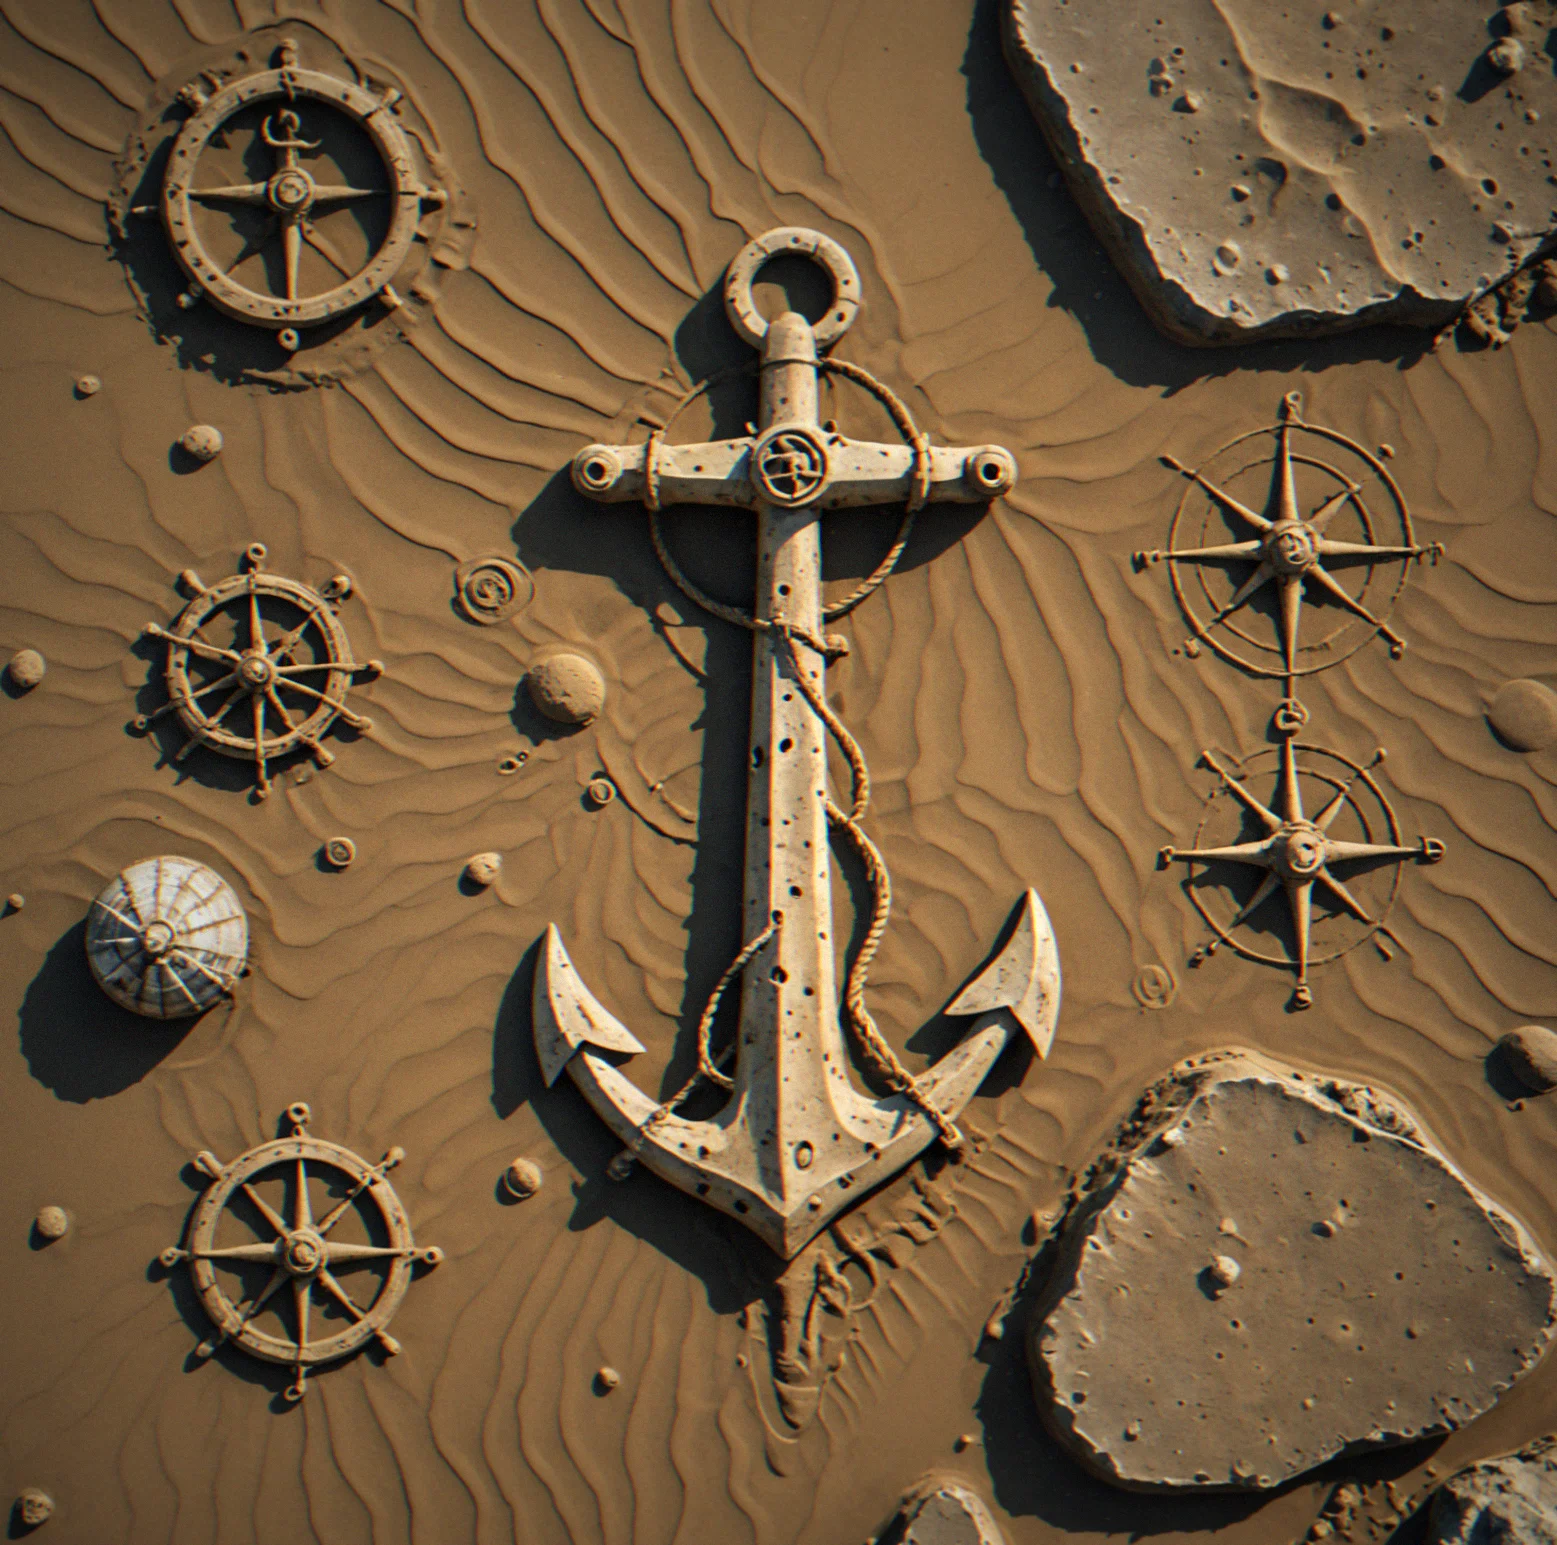
Mud, sand, rock. They all grip differently. Rock won't hold you unless you've got way more chain than you'd normally use. The chart tells you what's underneath. Mud in one estuary behaves differently than mud somewhere else. You need to know which is which.
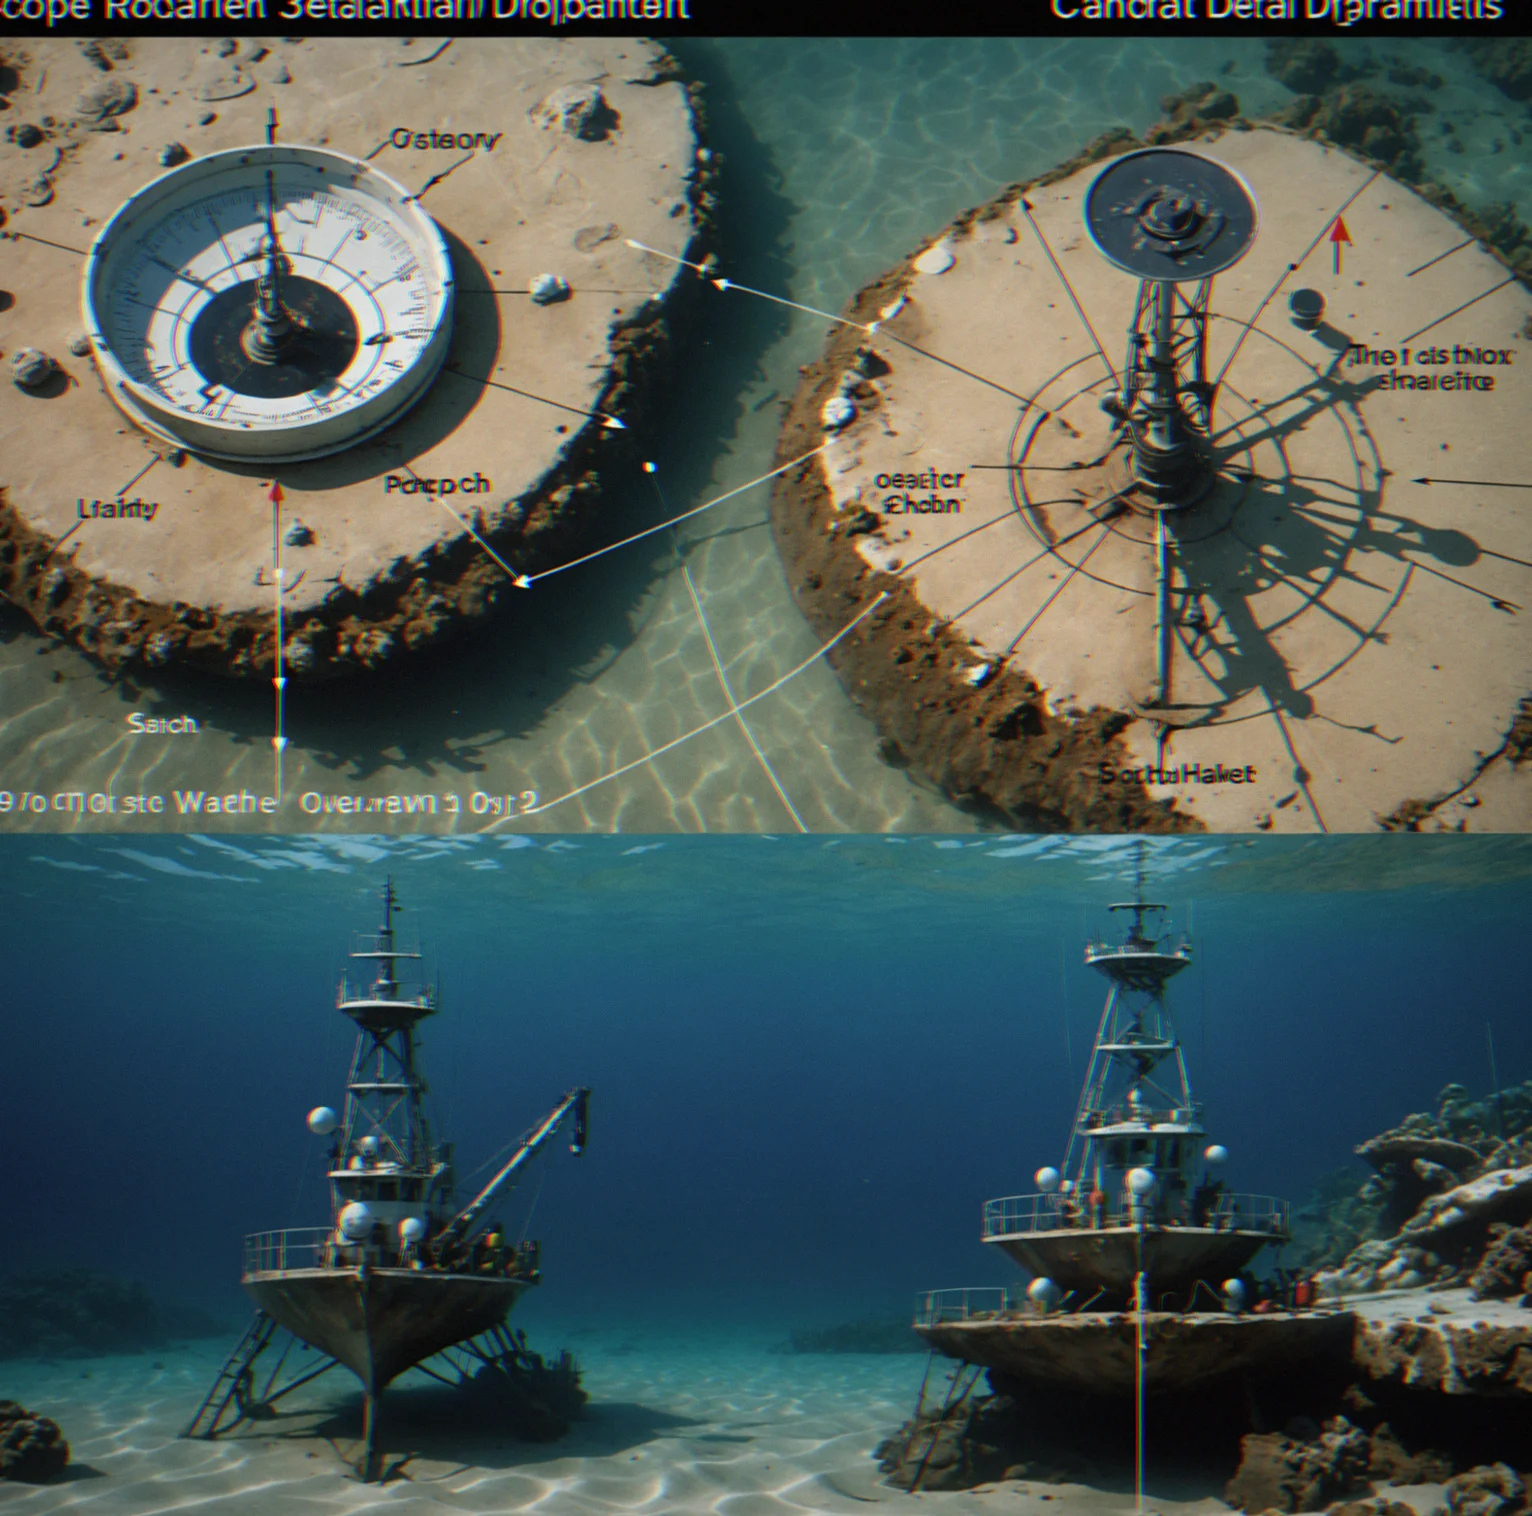
Depth times seven or ten. That's it. But get it wrong and you drag. Your chain doesn't last forever. Pick the wrong ratio and you're either wasting chain you can't replace or not holding on at all.
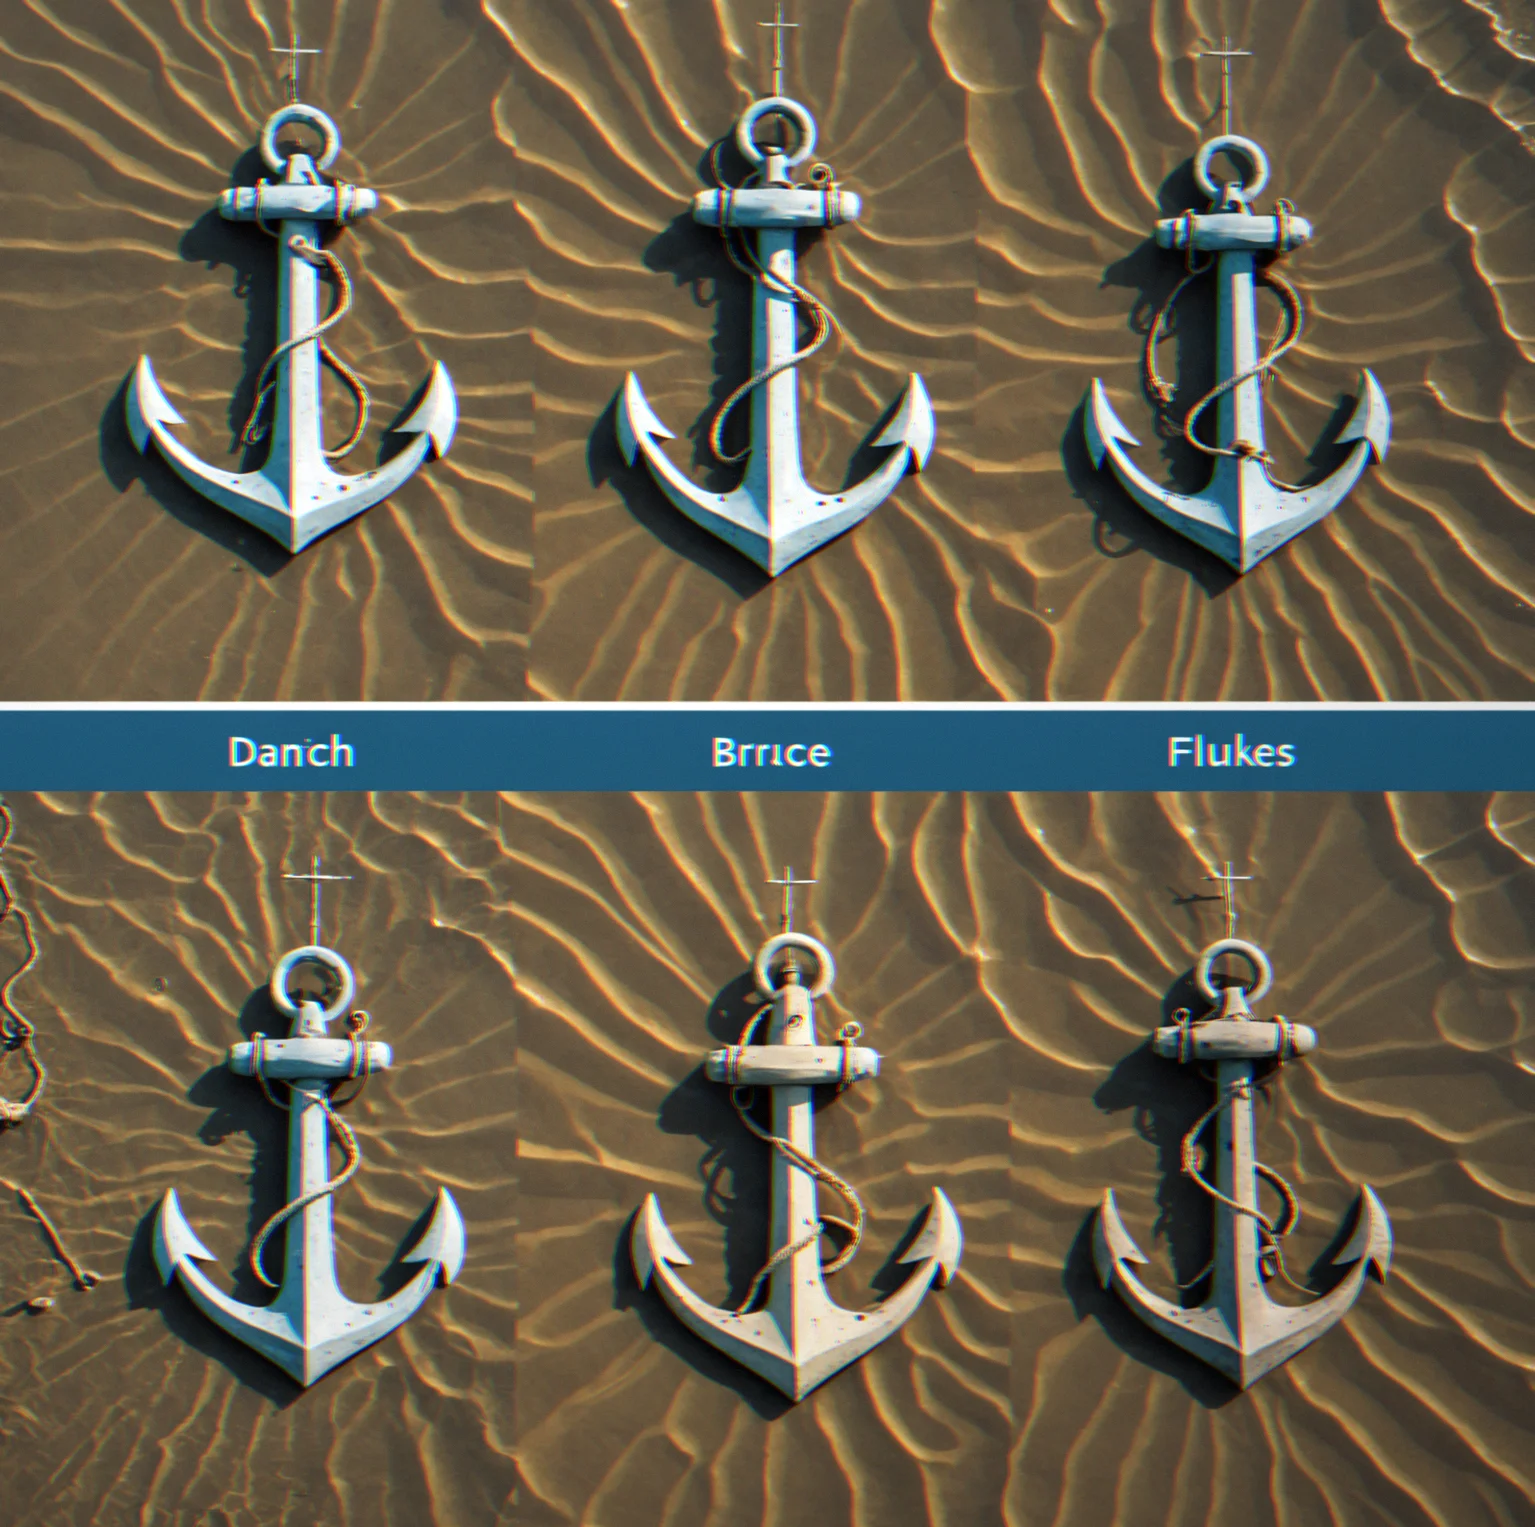
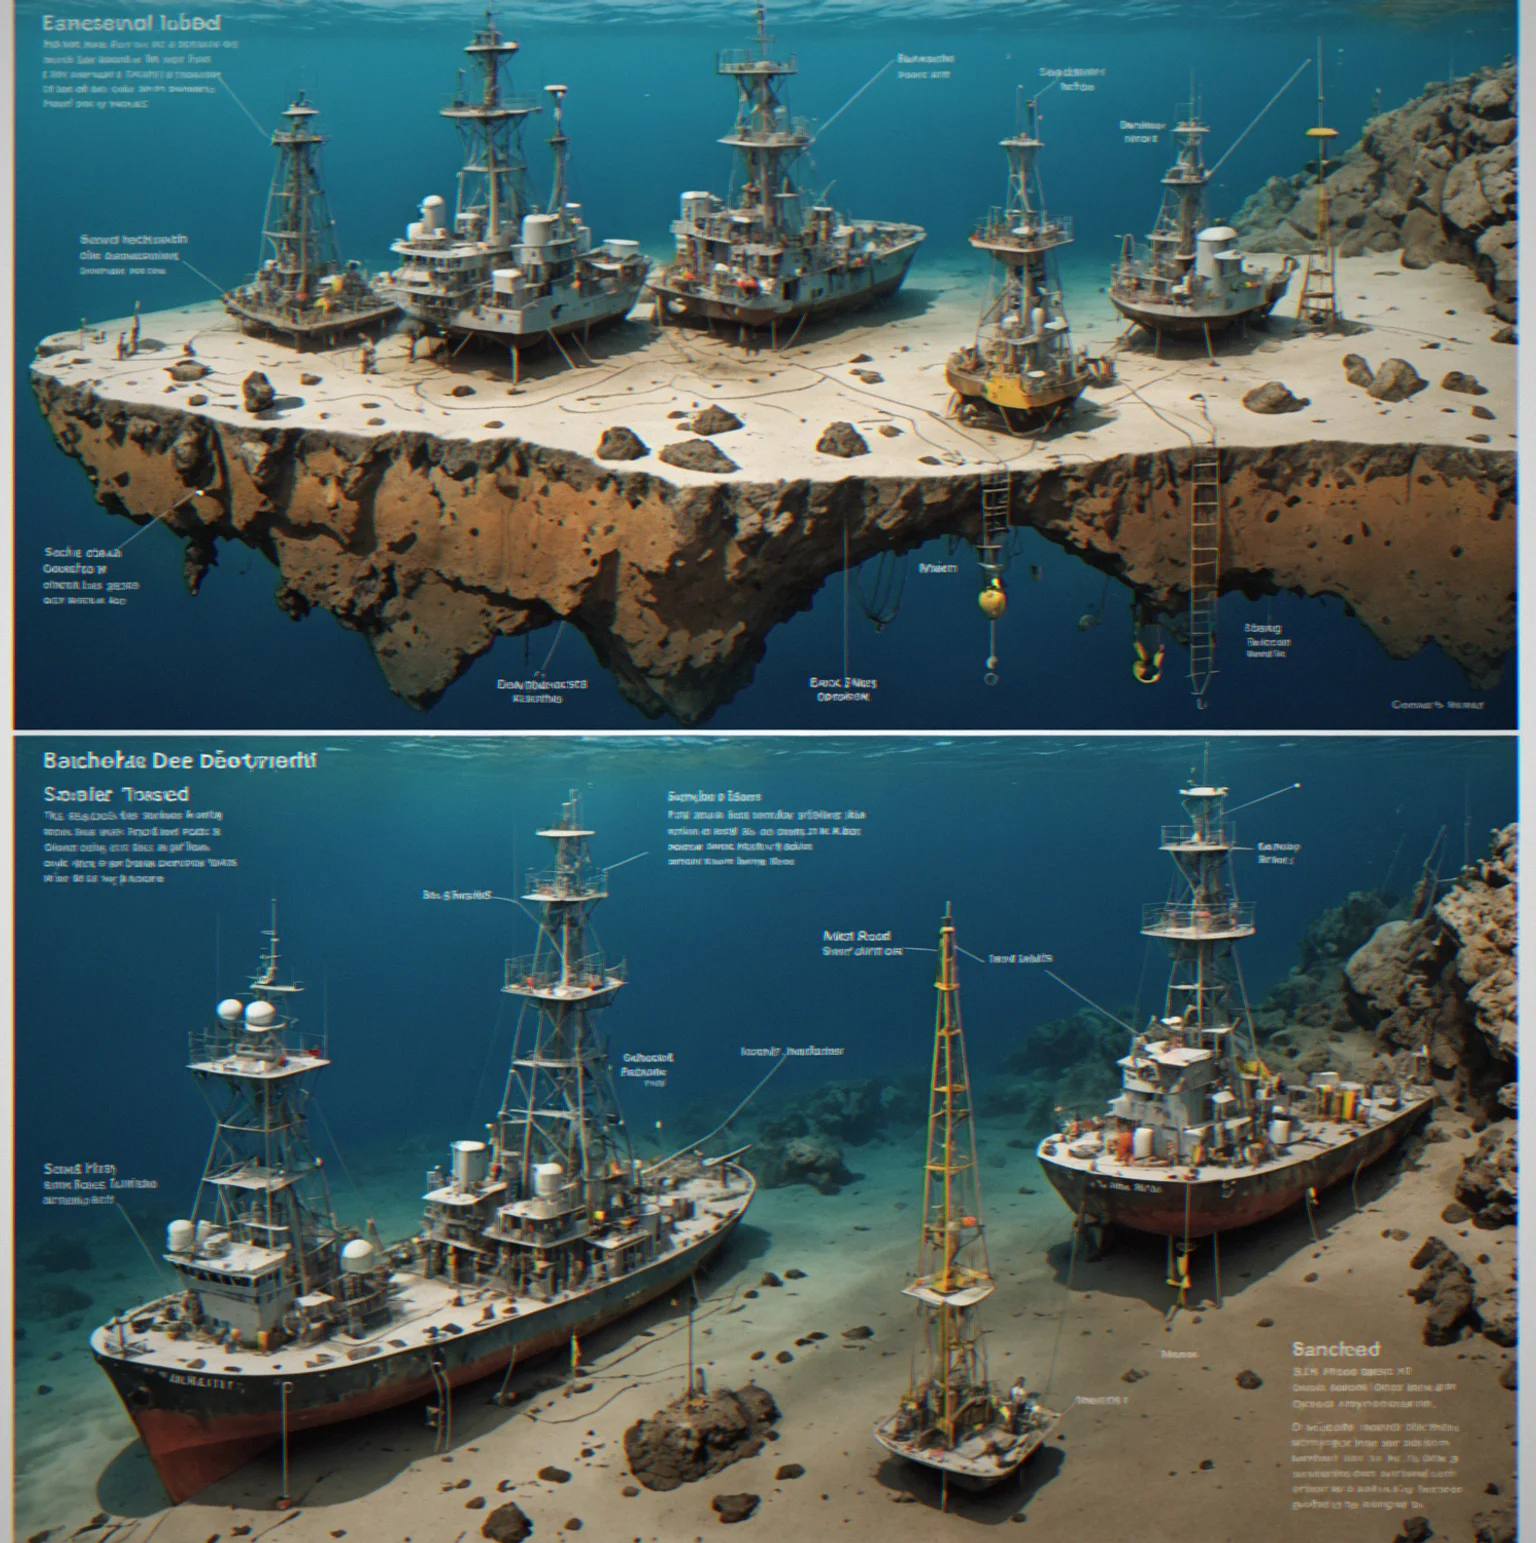
Danforth, plow, Bruce. Each one sets in its own way and handles different situations. A Danforth digs into sand fast. A plow does better in mud and seaweed. Pick the wrong type for the bottom and it won't hold.
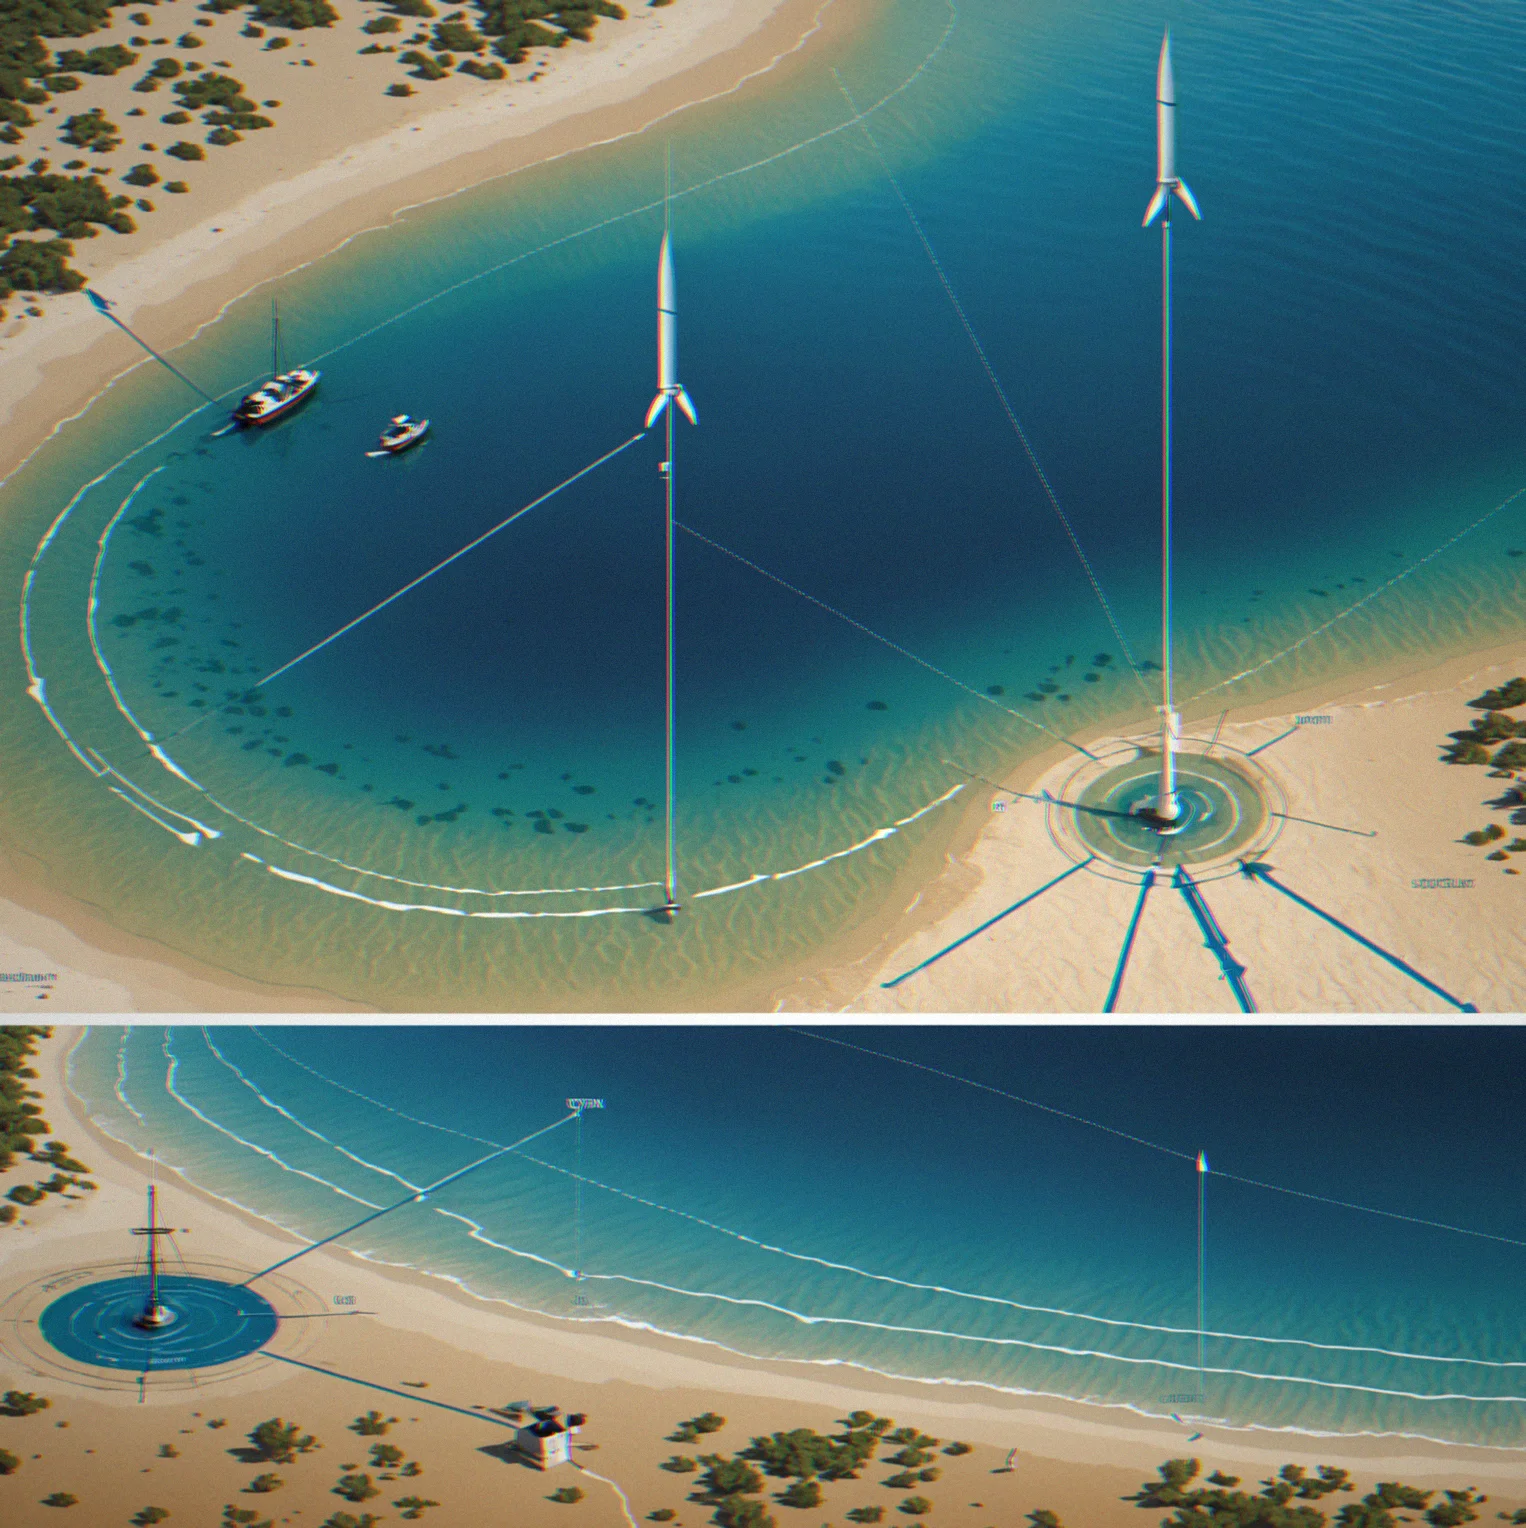
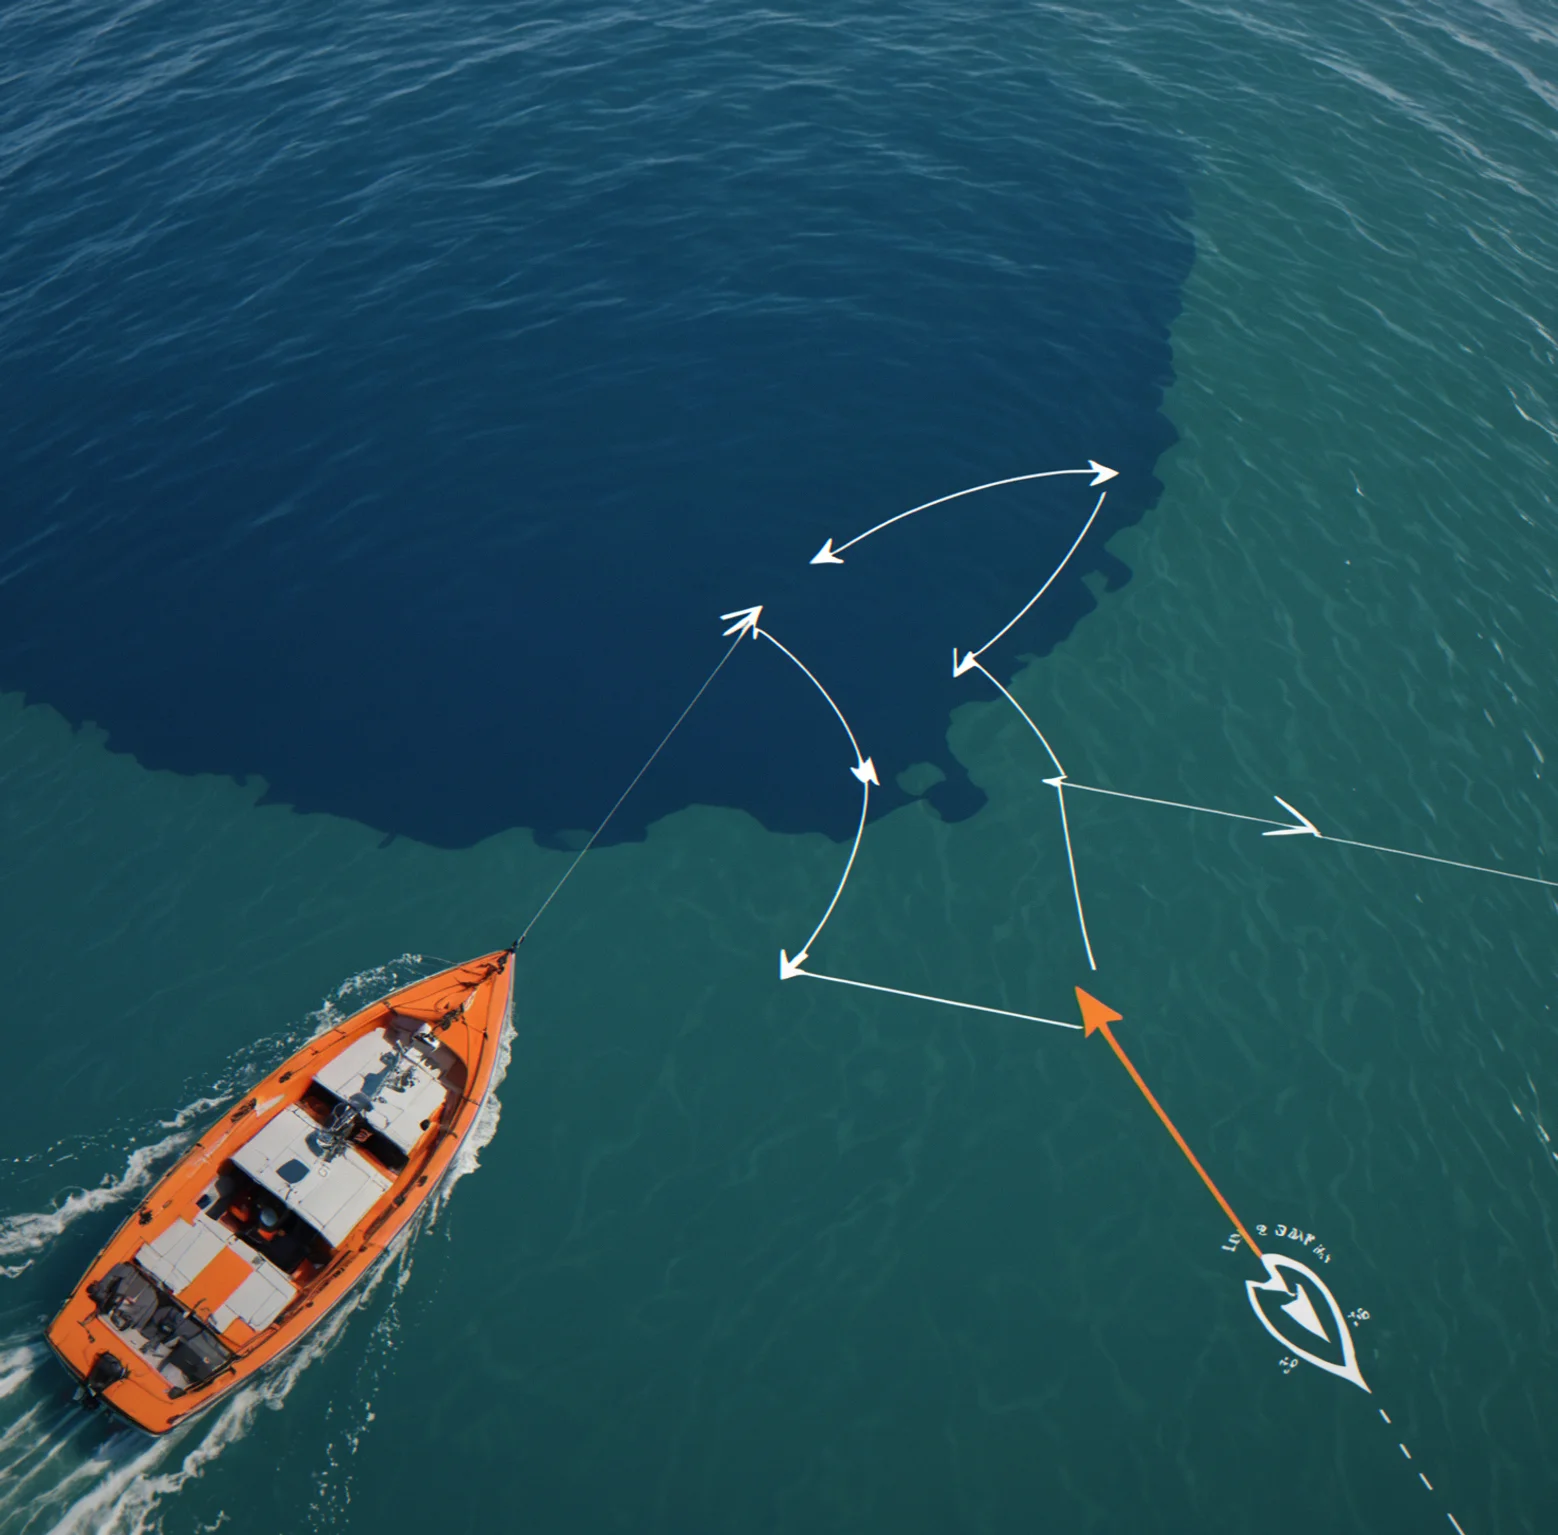
They don't just add together. Twelve knots from the north plus a knot and a half running southeast creates a combined force. Your boat points that direction. When you're picking your spot and thinking about how far you'll swing, you have to account for both.
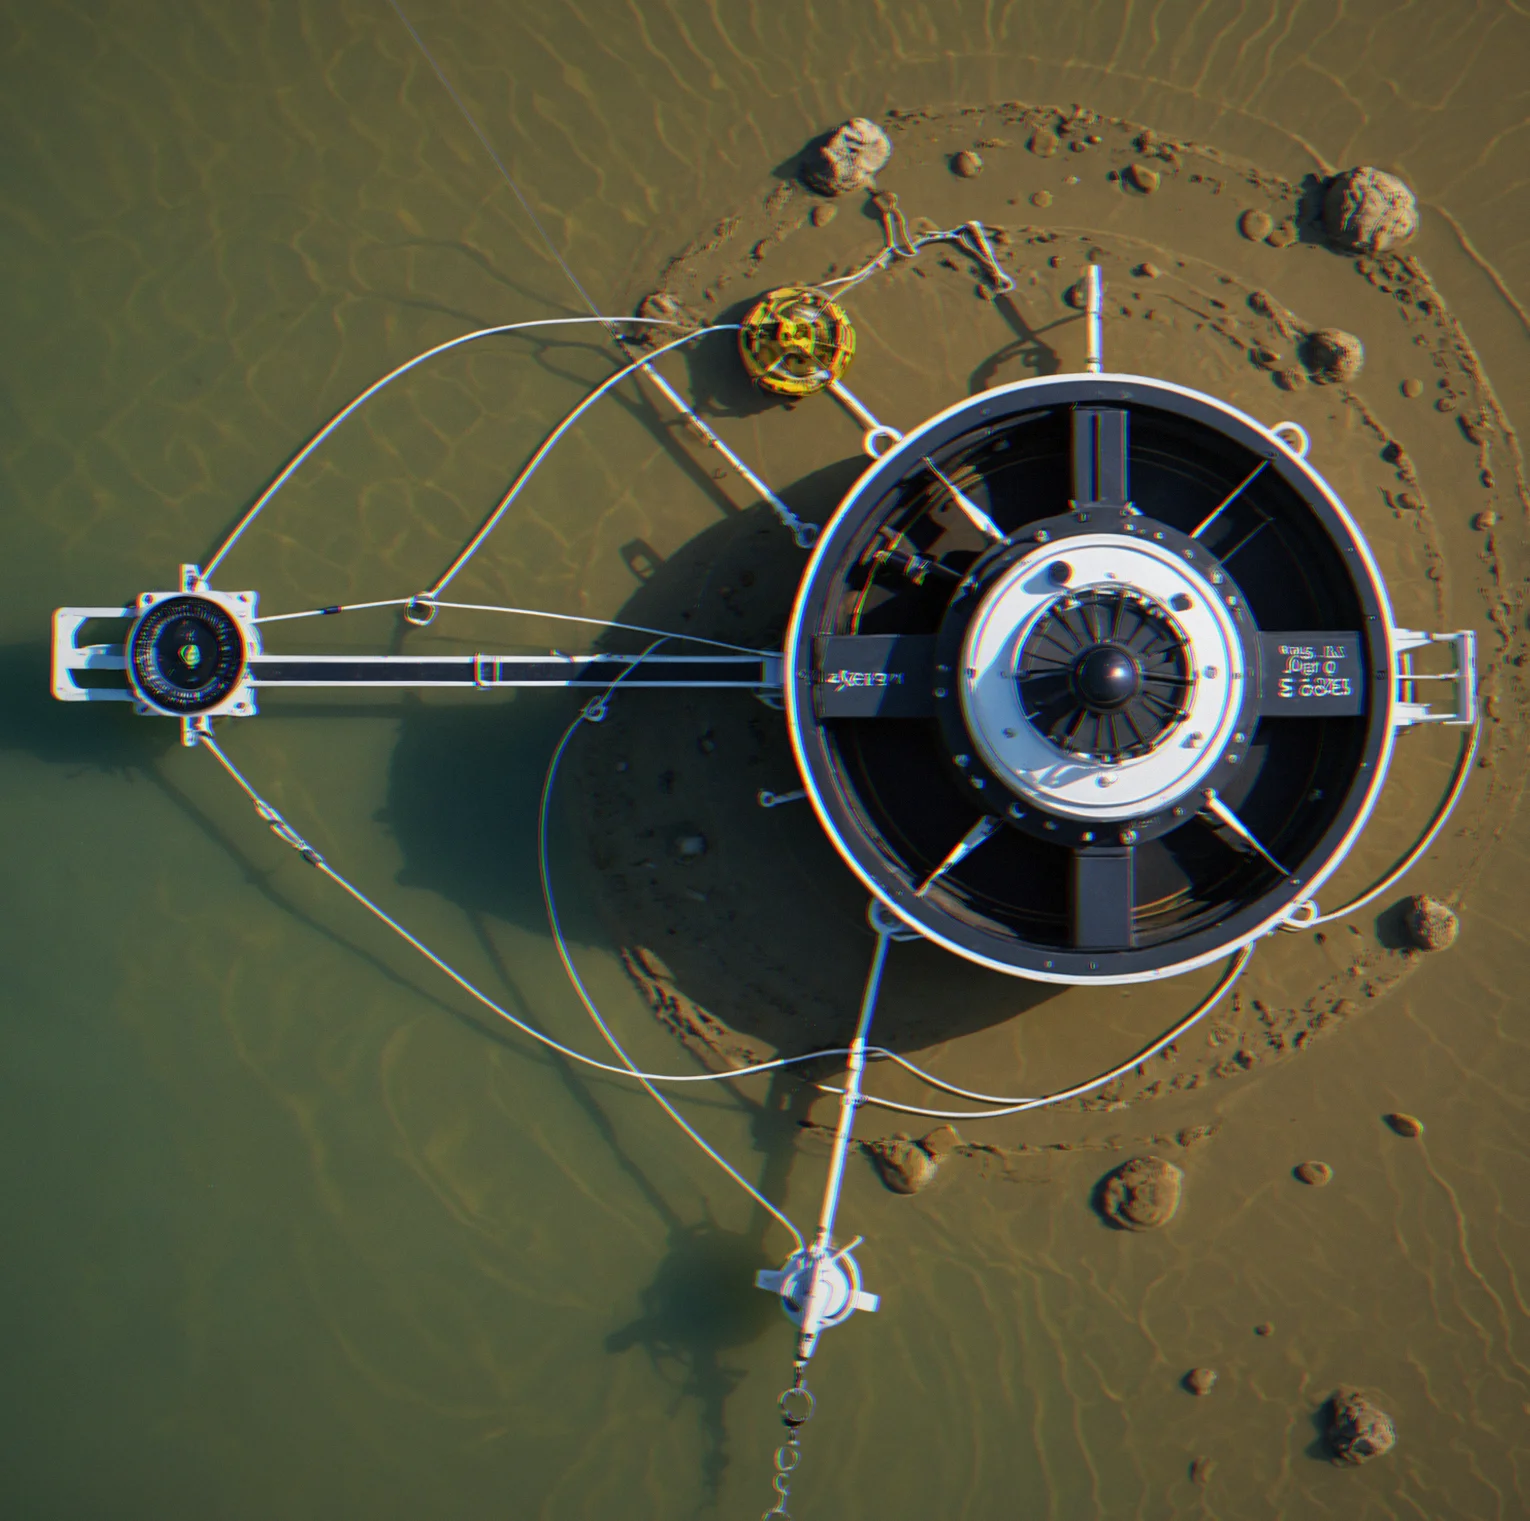
You see it the moment it happens. Your position moves compared to the shore. No hidden systems, no mystery. You anchored right or you didn't. Then you decide: give out more chain, drop again or get out of there.
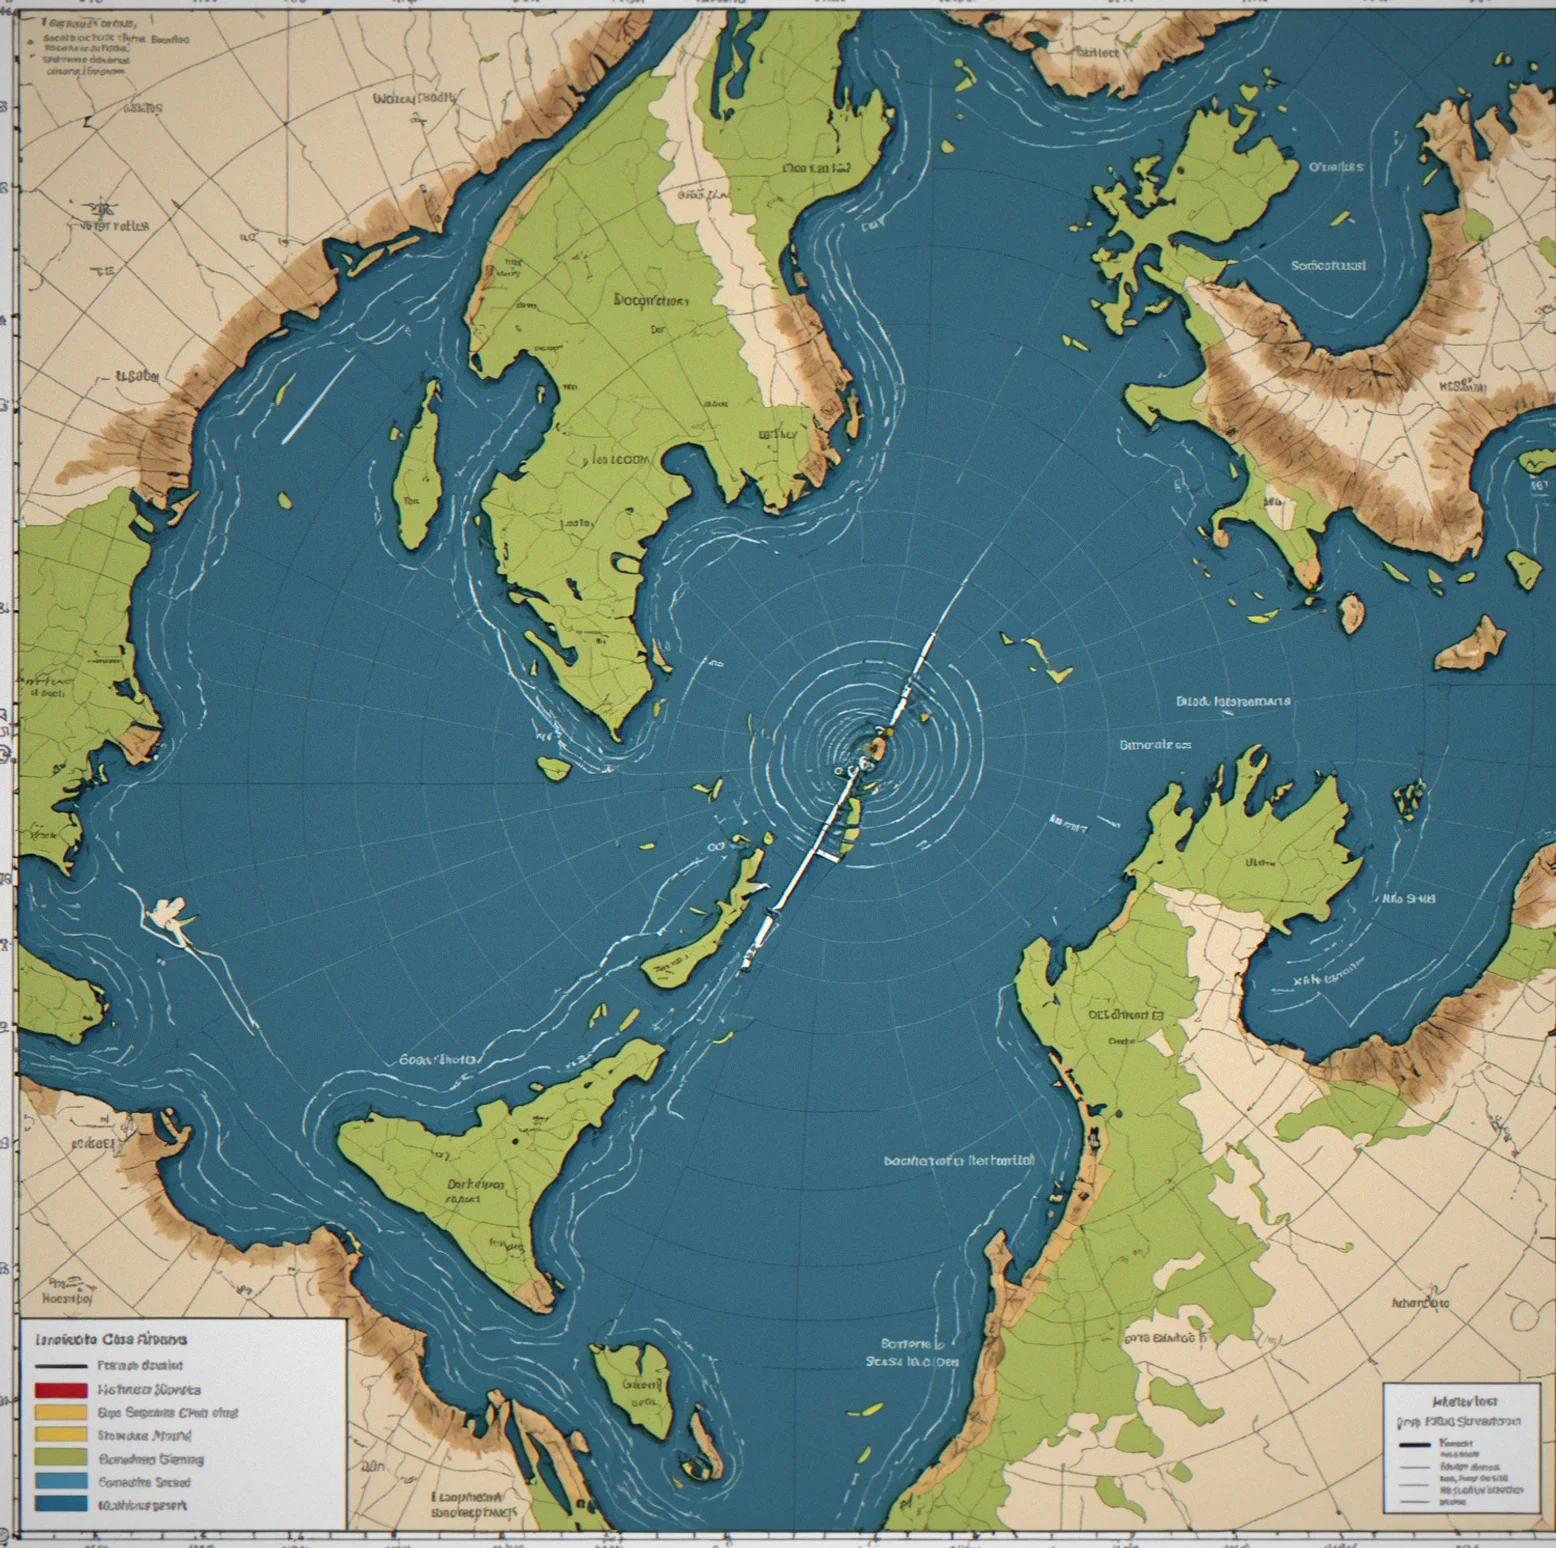
Tides follow actual schedules. Current strength shifts every hour as the water floods in and ebbs out. You're reading the chart, figuring out which way the current will push you, and adjusting where you position yourself accordingly. No randomized weather or made-up currents pretending to matter — this stuff actually does.
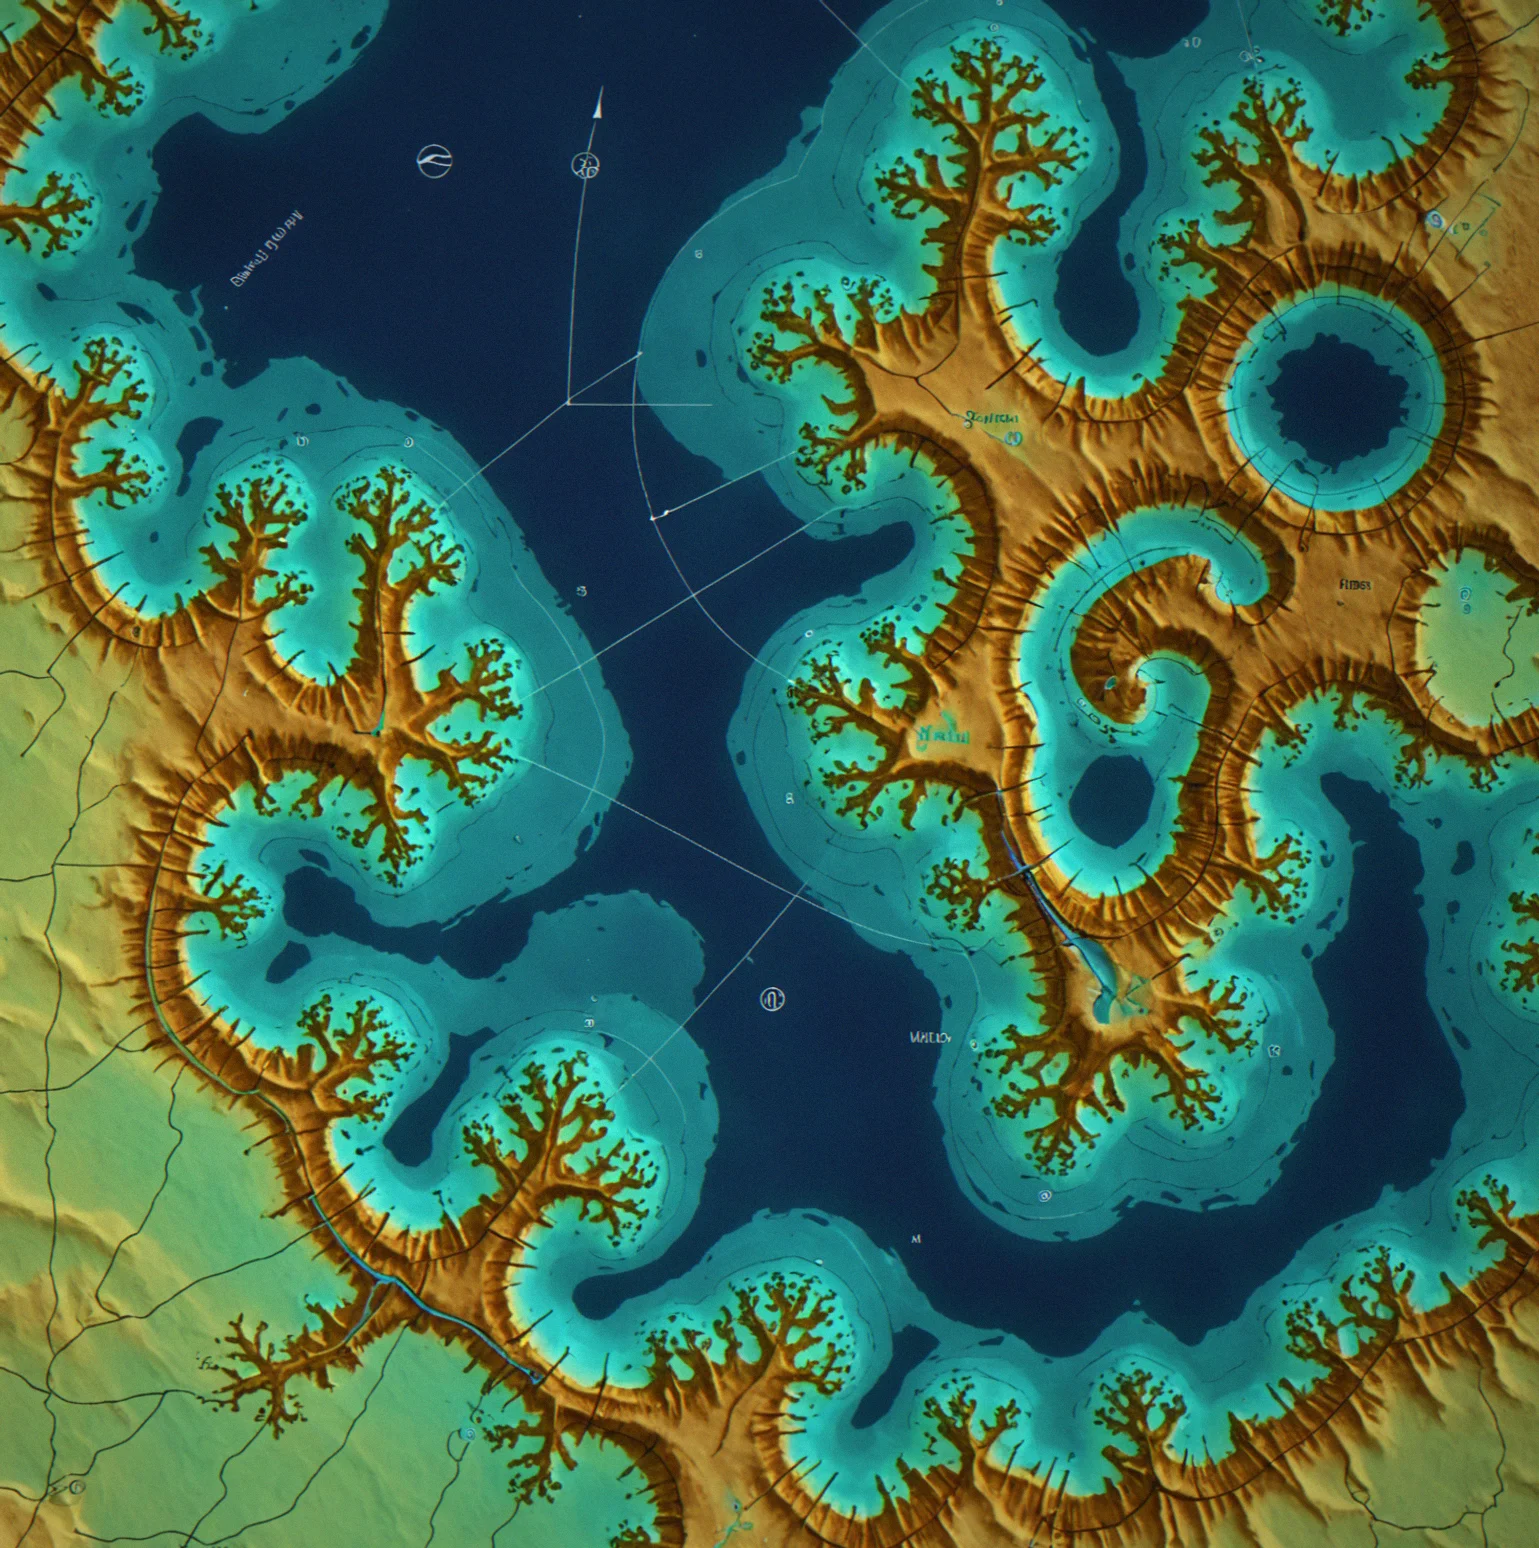
Depth soundings are based on what's really down there. You've got shallow water creeping up near the lee shore. Deep mud channels where you can actually feel safe dropping anchor. The contours of the bottom change everything about how you approach the problem. Ignoring it isn't an option.
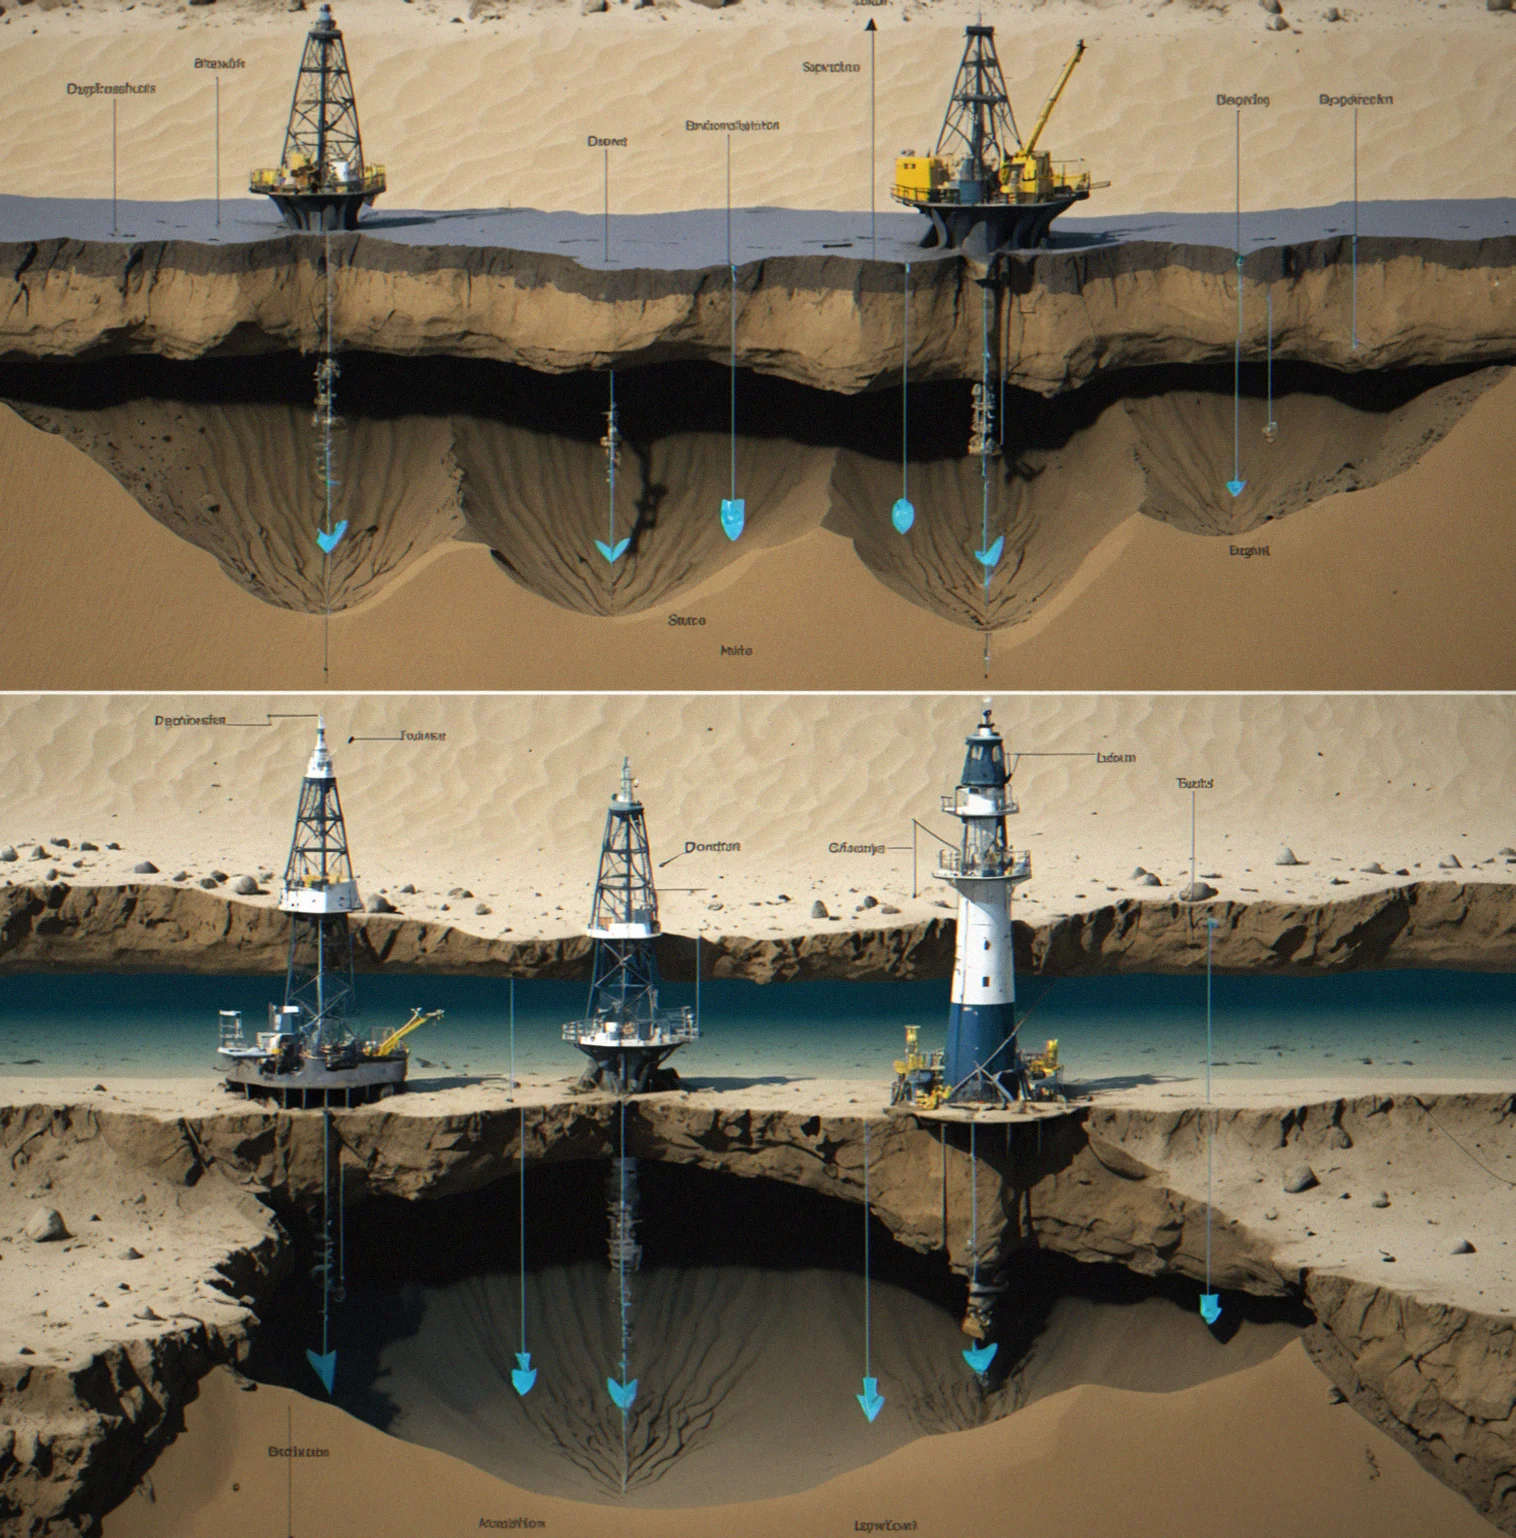
Mud grabs differently than sand, which grabs differently than rock. The game pulls real holding-power values for each type. Drop your anchor in mud from one estuary and sand from another and they'll behave the way they actually do in nature. Rock without an exceptional amount of scope? You're not holding anything — you're just dragging.
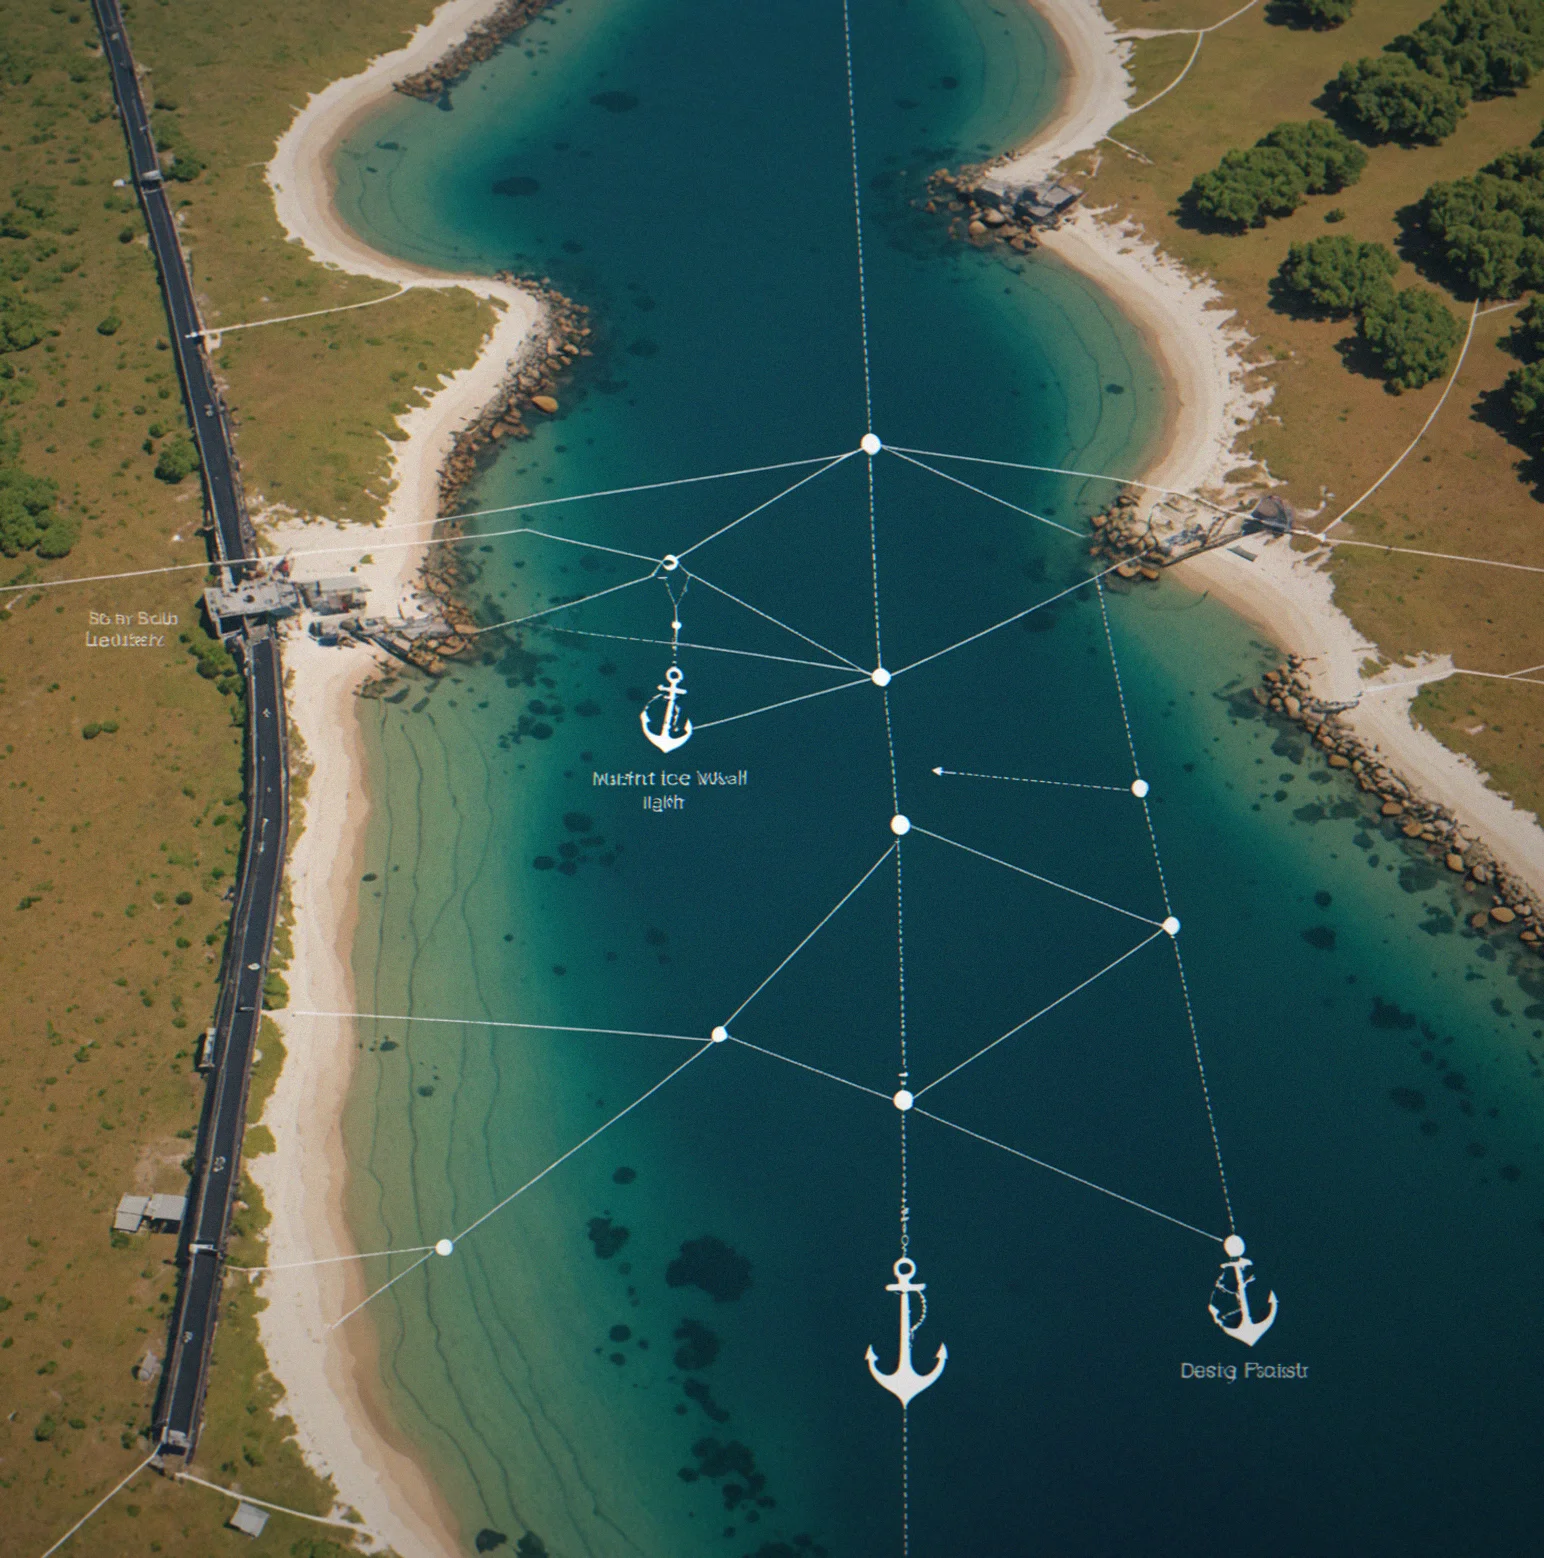
Seven-to-one ratio when conditions are decent. Push it to ten-to-one if you're not confident about what's holding you. The math itself is straightforward but doesn't forgive mistakes. Not enough scope and your anchor starts slipping. Too much and you're burning through chain you might desperately need later. You work it out before you drop and then you live with what you chose.
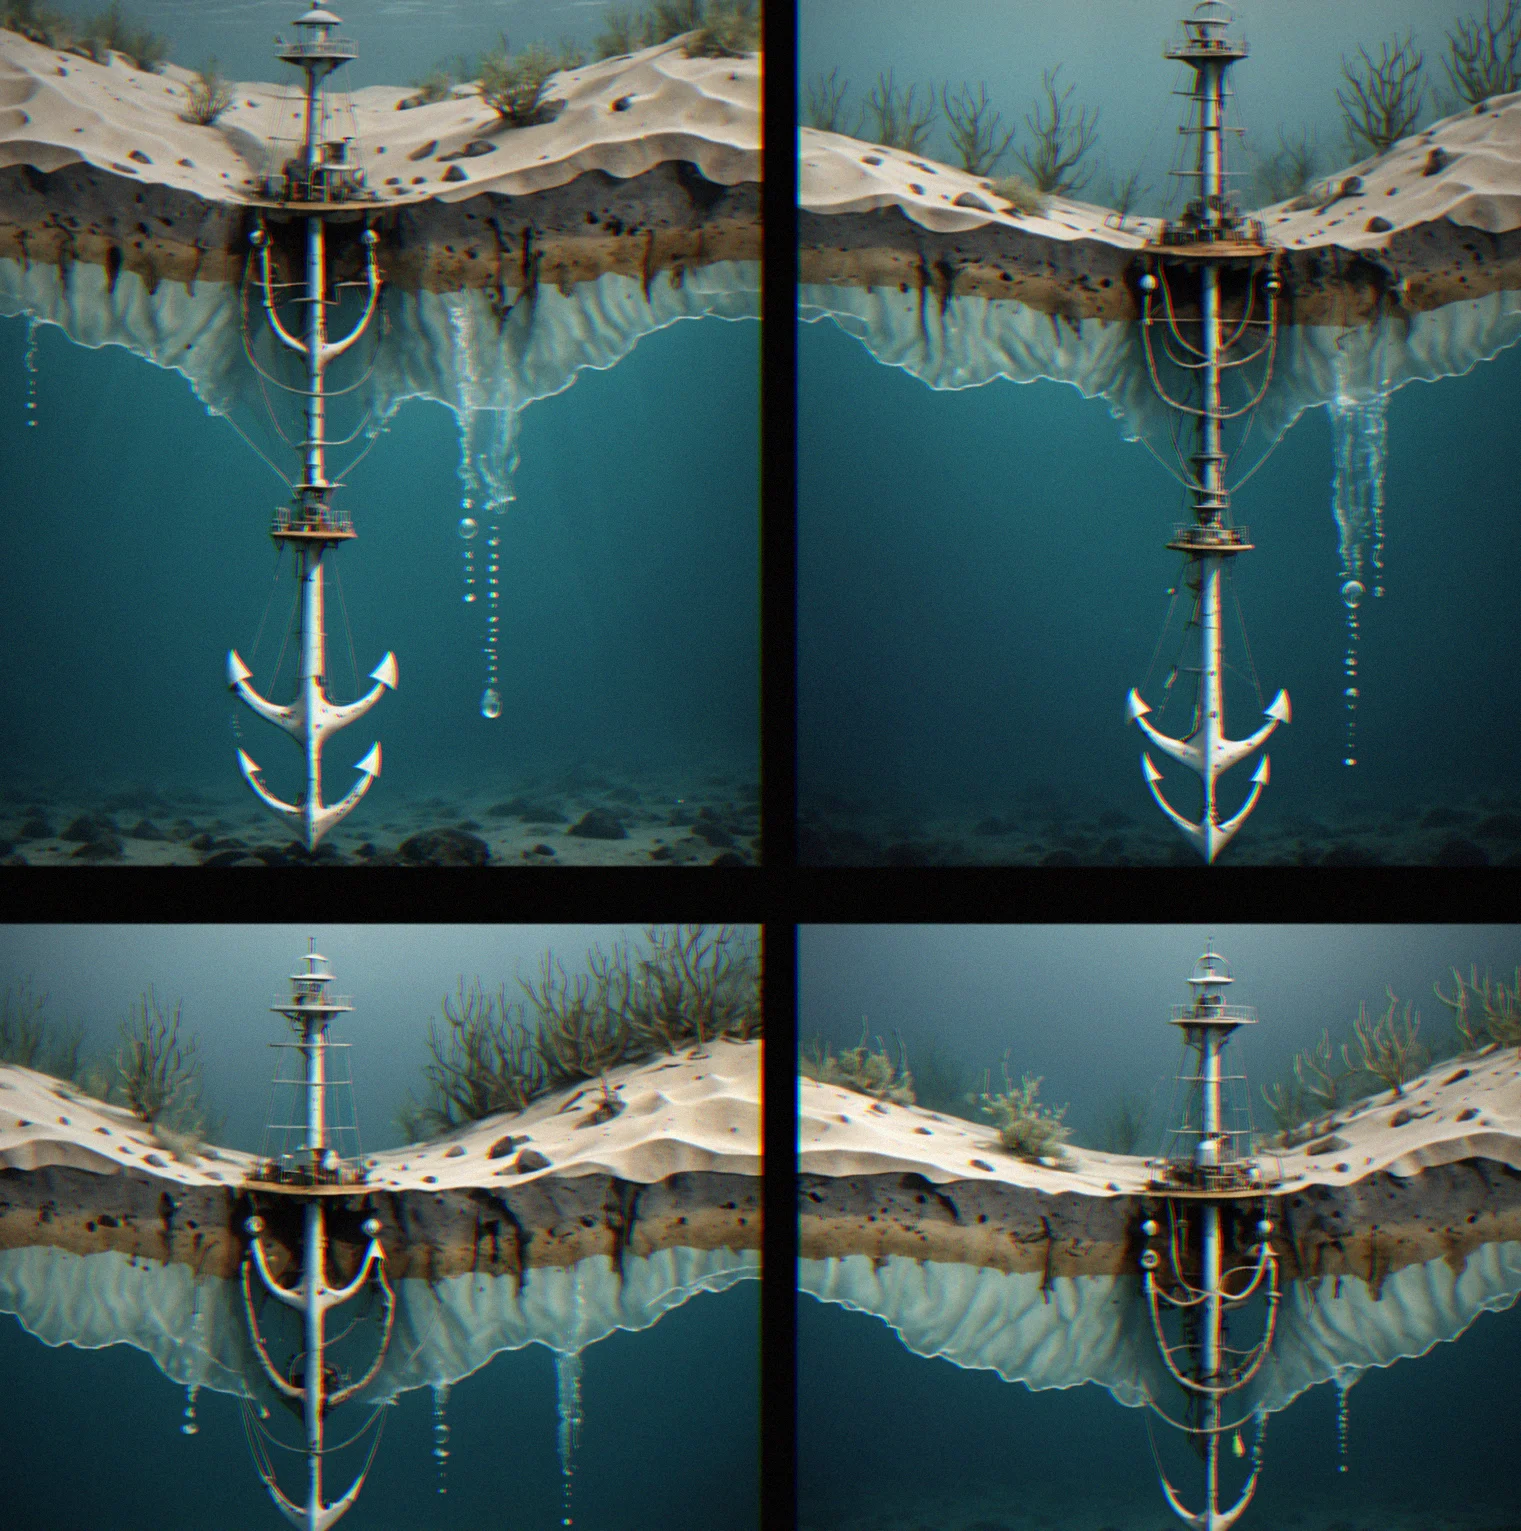
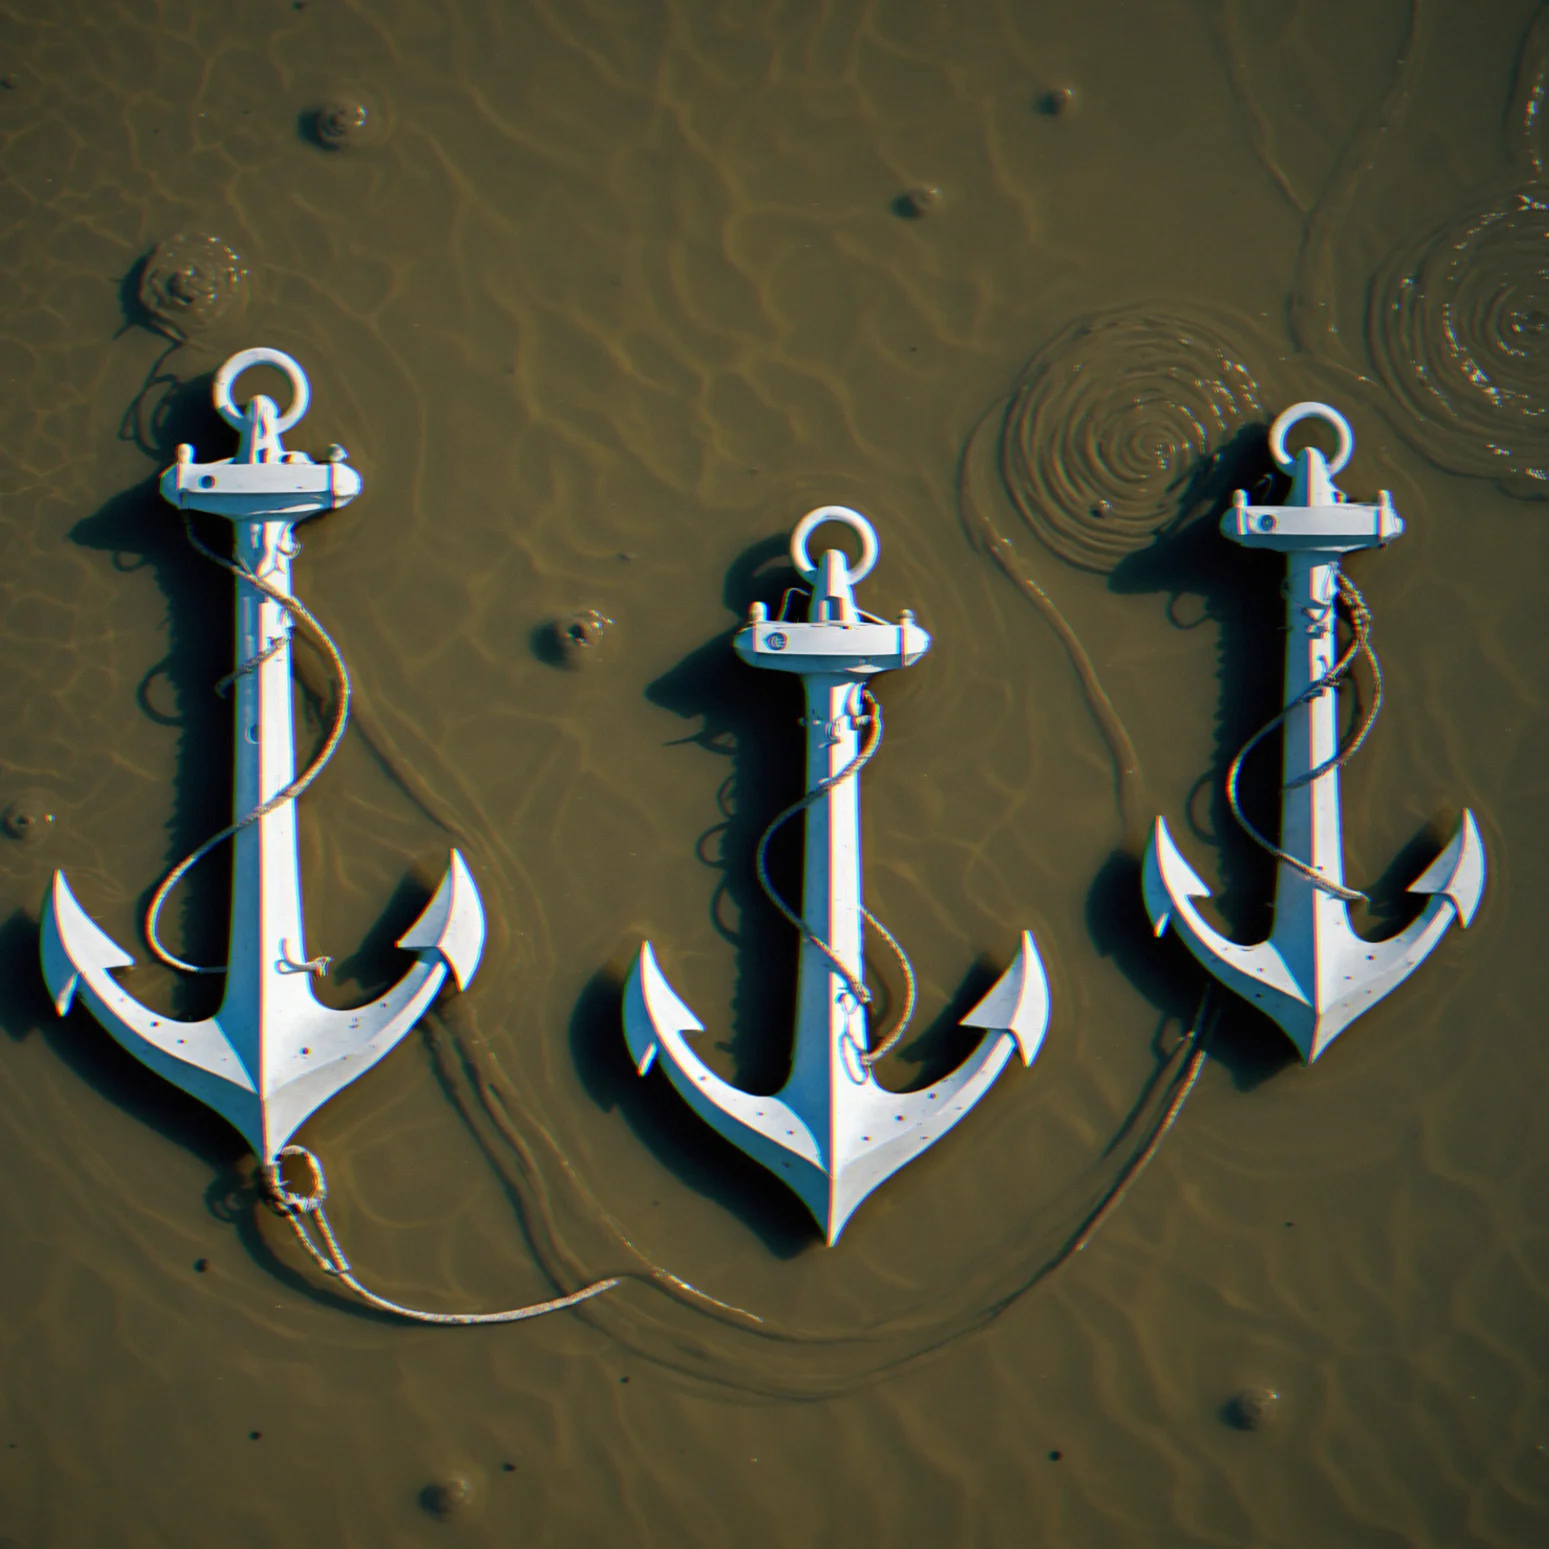
Danforth flukes bury into sand quickly. Plow anchors handle mud, weed and hard ground better. Bruce bulbs settle heavy on soft bottoms. Pick the wrong one for what's underneath you and it won't set the way you need it to. Each style has its moment and its limitations.
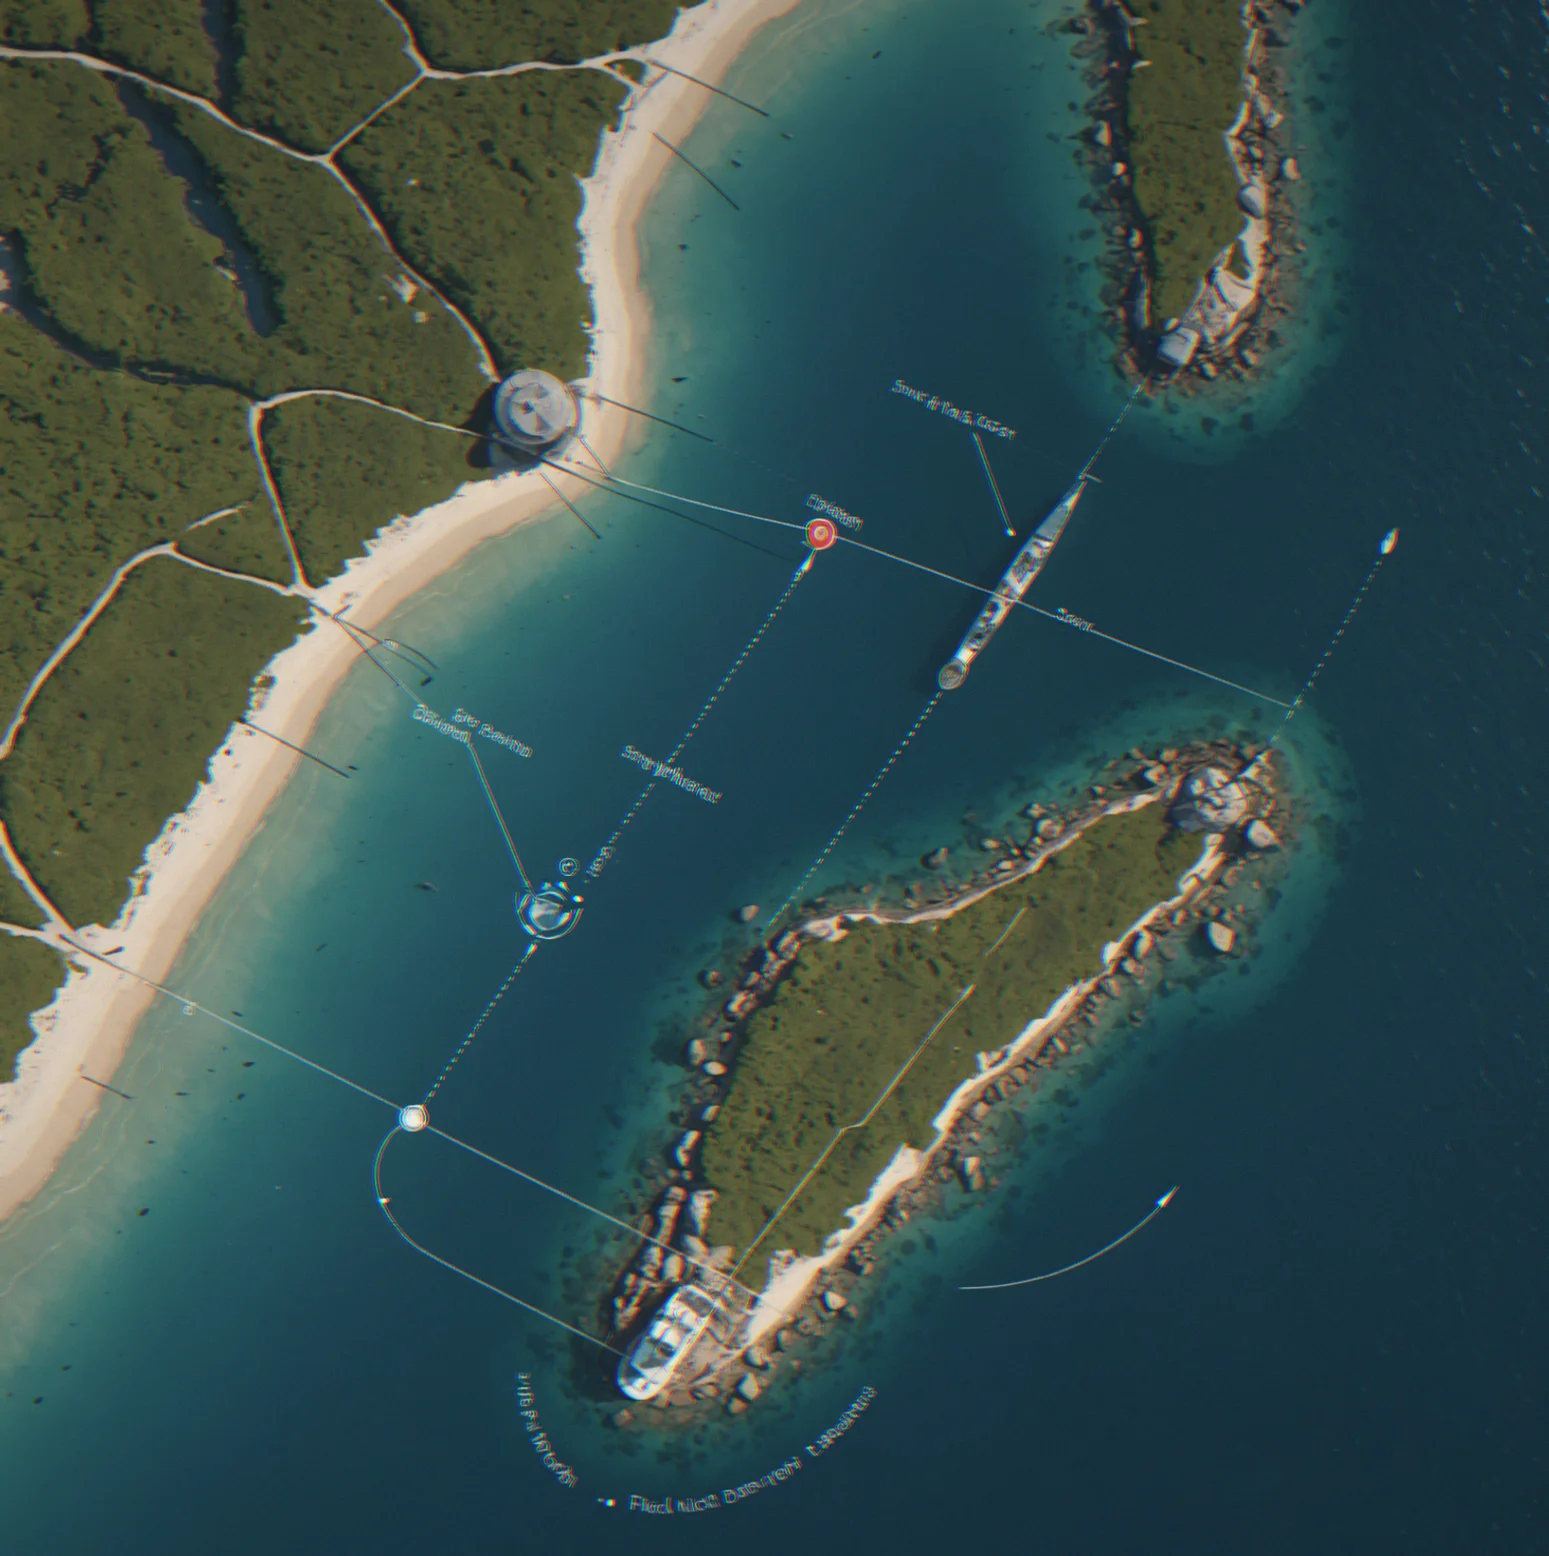
Anchor starts dragging and you actually watch it happen. Your position shifts relative to landmarks on shore. No hidden systems running in the background, no vague failure messages. You either held or you didn't. From there you decide what's next: adjust your position, set a new anchor, or get moving.
How It Works
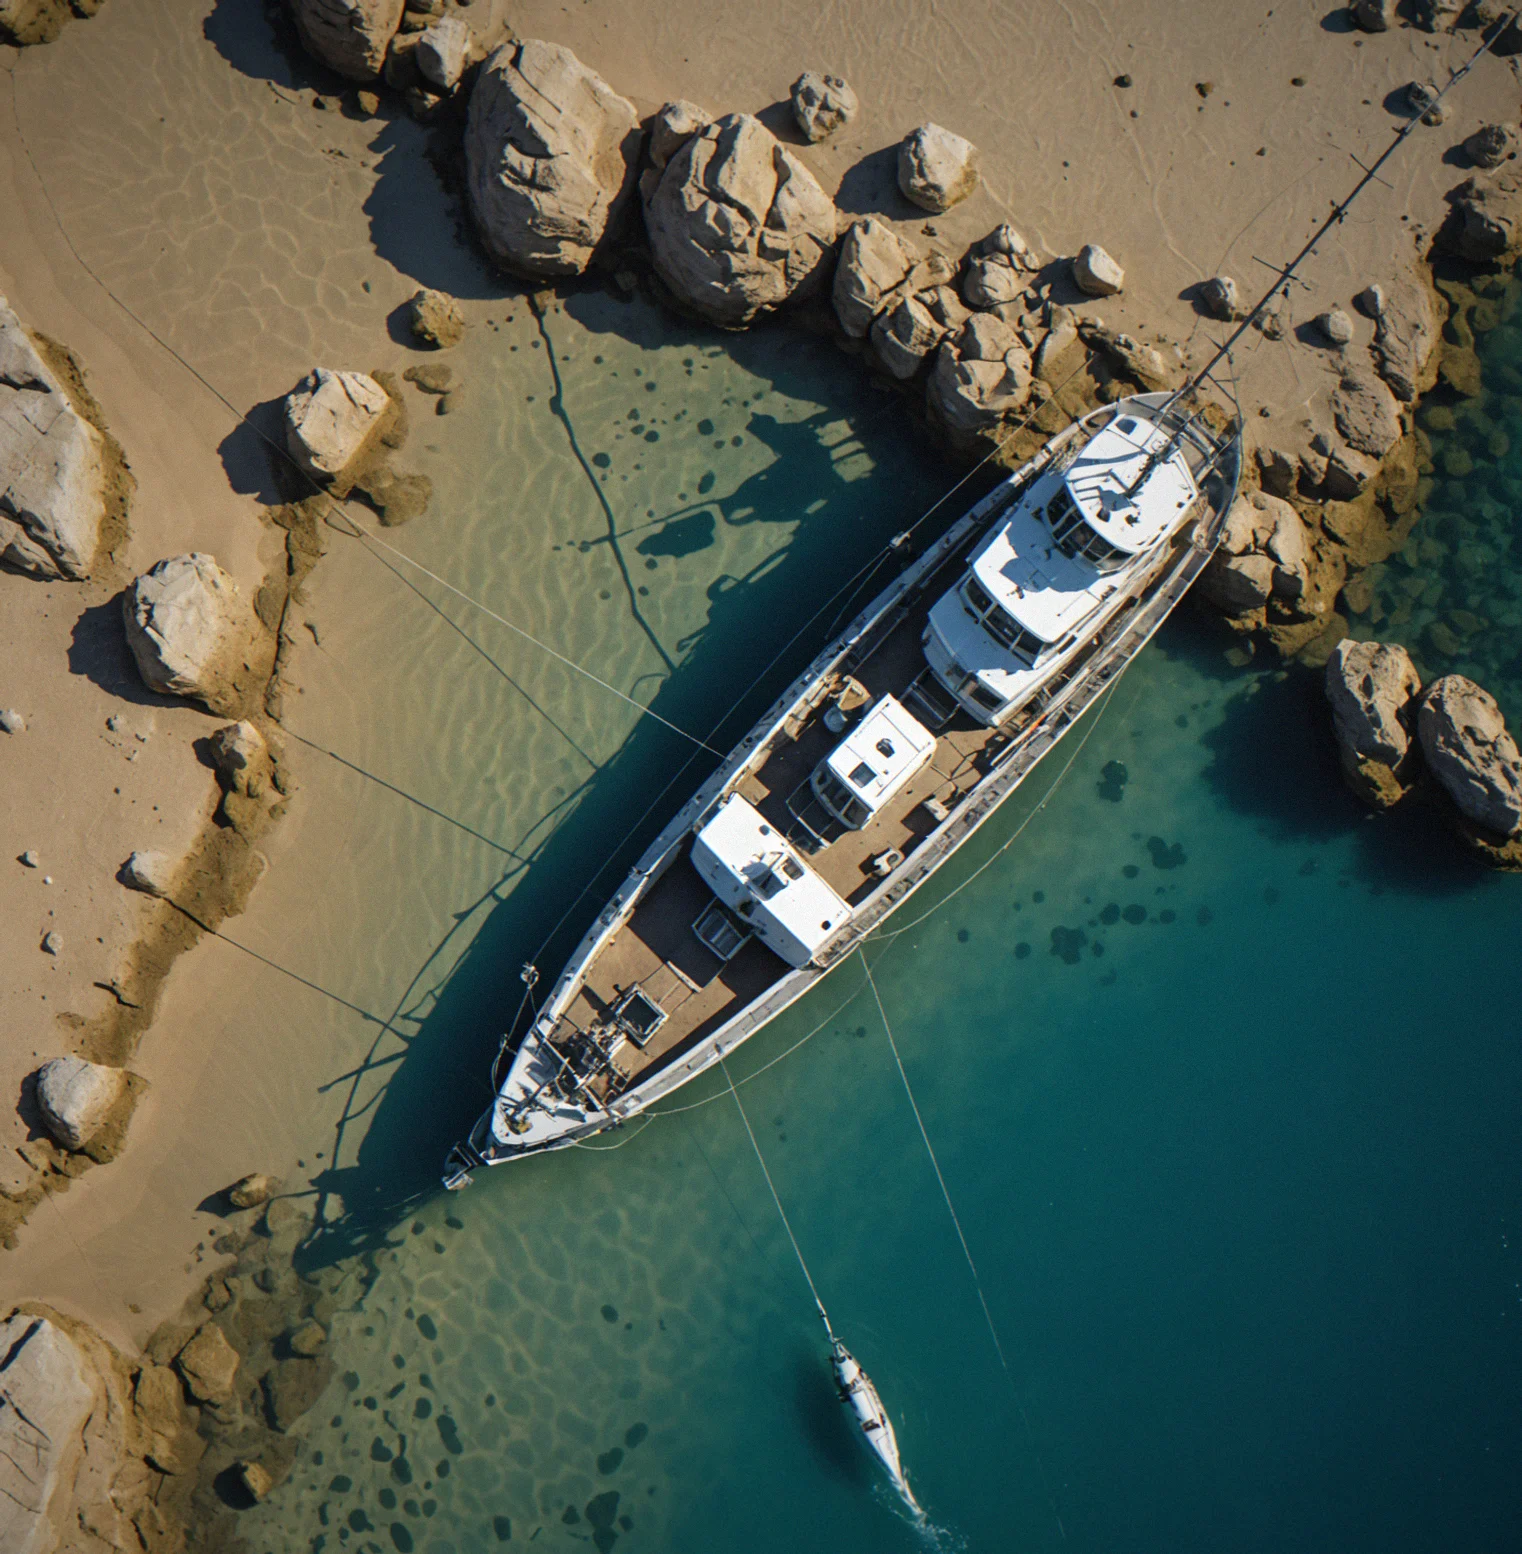
You pull into an anchorage with maybe 10 or 15 minutes of daylight left. The chart tells you the water's running 6 to 12 meters deep, there's mud holding ground across the western side of the bay and a tidal current pushing northeast at just over a knot. The forecast says wind will shift from northwest to south sometime around 0300, which means your swing radius changes. So you work it out: in 8 meters of mud, a 7-to-1 scope gets you about 56 meters of chain. That's what you've got to work with. You pick a spot that factors in the current set, where you'll swing once the wind turns, how far it is to the lee shore. Then you let the anchor go. The chain plays out. Your anchor bites into the mud or it doesn't. If it sets, you relax. If it drags you know right away. Your boat's moving relative to that fixed lighthouse on shore. Any drift means you messed up. So you haul it back up, reposition and try once more. Most anchorages need two or three goes. Some take more. The real payoff isn't some dramatic moment. It's that instant when the anchor finally catches, your scope's right where it should be and you can actually rest knowing the boat will be exactly where you left it at 0600.
Drop anchor in just under 10 meters of iffy holding ground with only a five-to-one scope and you're going to drag. Not eventually. Not after an hour of in-game time. We're talking minutes before your boat starts drifting relative to the fixed points on shore. The game doesn't hide this. You watch it happen in real time. So you've got a choice right there: haul up and reset with propper scope or cut loose and try your luck in a different bay.
Smoothanchor doesn't soften the difficulty for different players. There's no casual mode where the tides move slower or the seabed grips harder. Everyone runs the same simulation. A plow anchor in sticky mud behaves the way it actually does in the real world. A Danforth in sand performs like a Danforth should. Wind and current don't get easier. You either learn how these systems work or you repeat the same mistakes session after session.
That's by design. The game exists for people who care about precision more than story, who'd rather understand something deeply than chase a progress bar. If it frustrates you in the first hour because you're sick of scope calculations, that's totally valid. This isn't built to ease you in gently. It's built for people who want to develop actual competence. Some days you'll spend almost an hour just getting anchored while the wind picks up. Other days you'll manage three solid anchorages across the whole in-game day. The game doesn't care which it is.
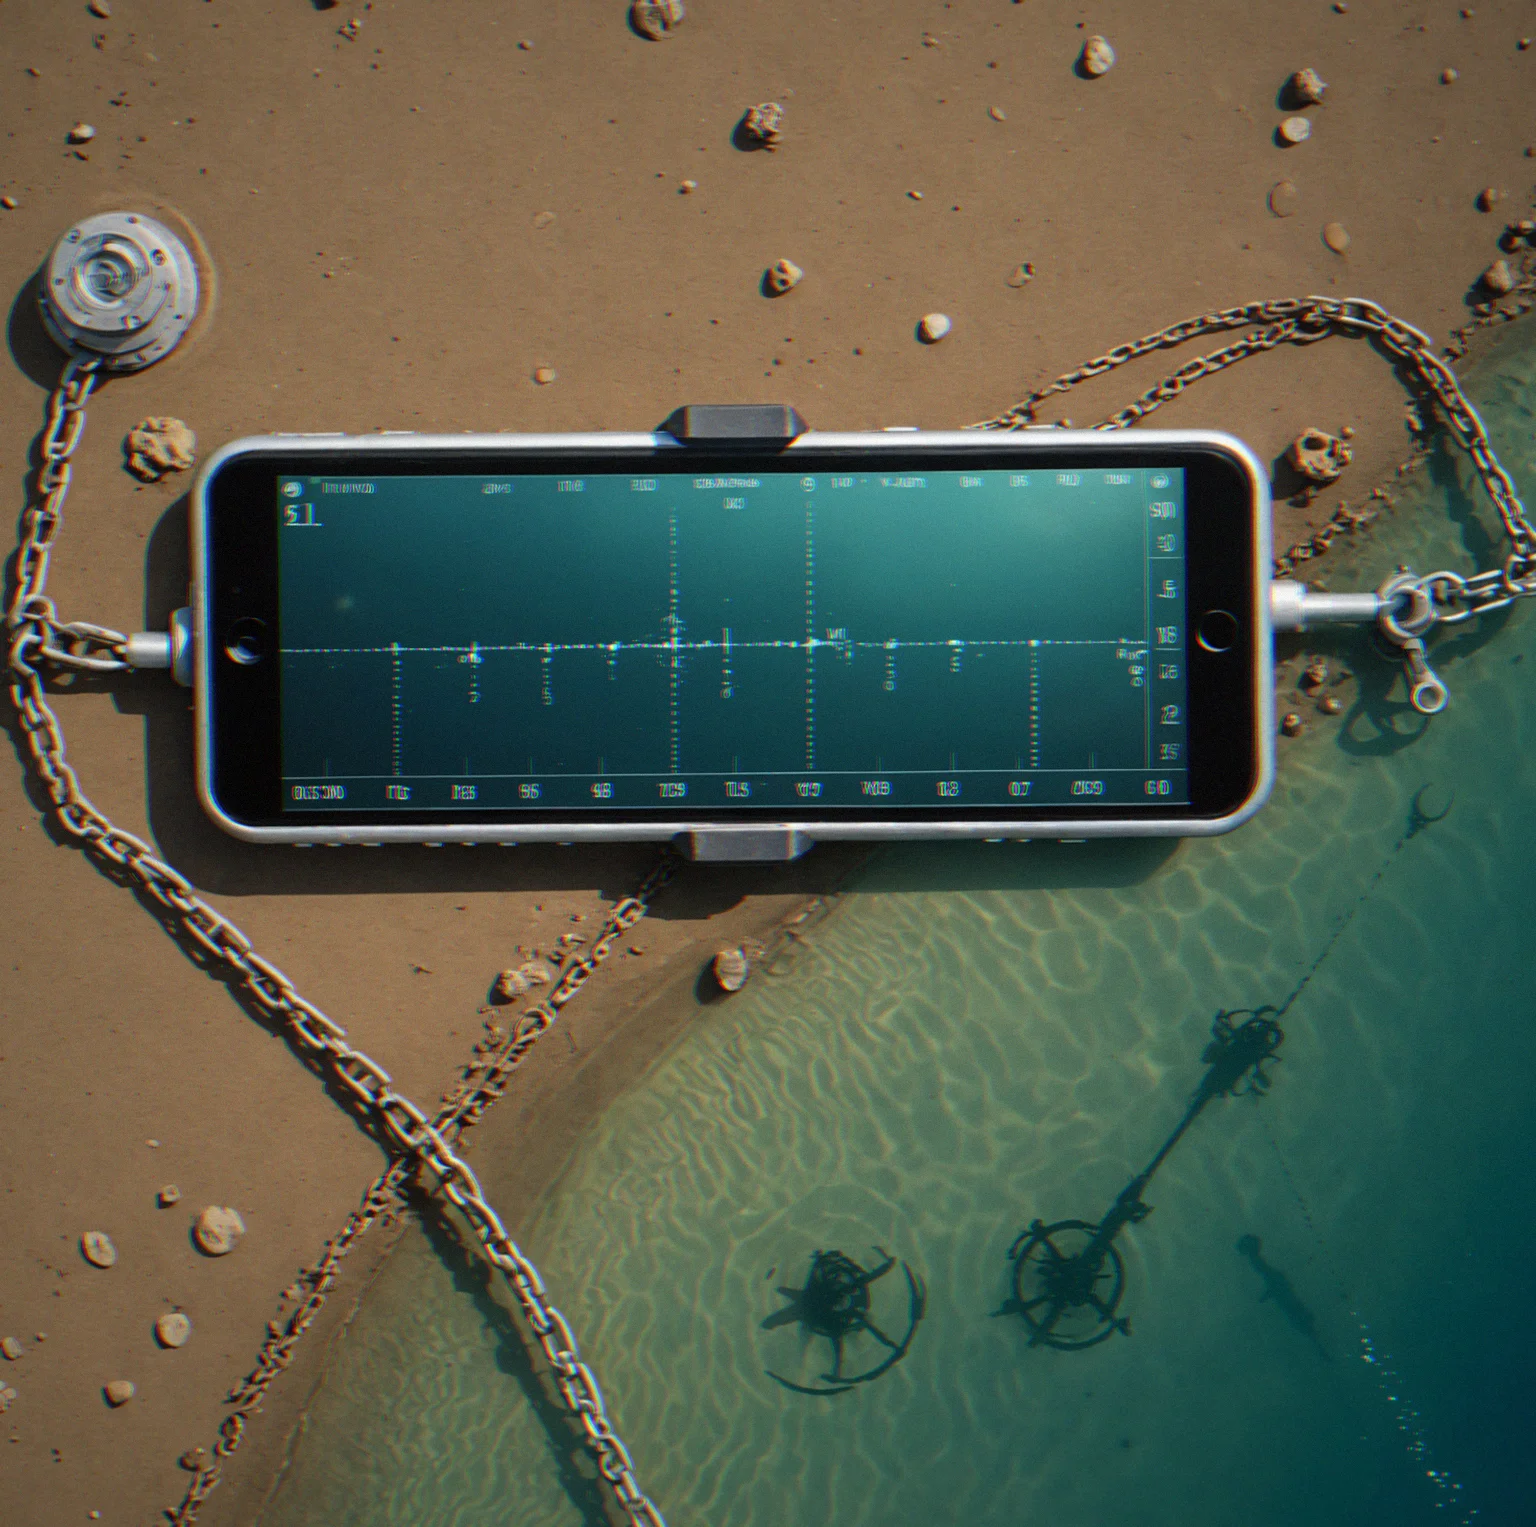
Measured in knots and plotted right on your chart. A couple knots of set running perpendicular to your swing radius completely changes where you need to drop the anchor. You read the chart, work out the set, adjust your approach. It's prediction and math. No luck involved.
The soundings on the chart show you what the bottom looks like. Shallow water near the lee shore means you rethink your whole strategy. Deep mud channels give you real security. You use the chart to figure out where anchoring is actually possible, not just where you'd prefer to be.
Mud, sand, rock—they all grip differently. The game uses actual holding coefficients based on real data. Mud in one estuary doesn't hold the same way as mud in another. Check what the chart says. It matters more than most players realize.
Seven-to-one when the holding is solid. Ten-to-one when you're not sure. The math is straightforward but there's no margin for error. Too short and you'll watch your anchor slip. Too much and you're running through chain you might desperately need later.
Your anchor drags and you see it happen. Your boat's position shifts relative to landmarks on shore. There's nothing abstract about it. No hidden mechanics to blame. Either the anchor held or it didn't. Then you deal with it.
Questions
Smoothanchor isn't for everyone and that's intentional. Here's what you should know before you decide to pick it up.
Nope. The simulation works the same way regardless of who's playing. Tides don't slow down, the seabed won't suddenly hold better, scope requirements don't get easier. If easier is what you're after, this probably isn't your game.
Really depends on where you are and how much you've practiced. Most people spend somewhere between 10 and 15 minutes on their first try at a location — reading the chart, working out your scope, then waiting to see if the anchor sets or starts dragging. Once you know what you're doing, things move faster. You might knock out a couple anchorages in one sitting, or spend most of an hour wrestling with a single difficult one.
You don't need to have sailed before but you do need to be willing to actually learn. The game walks you through the basics — scope ratios, what holding ground means, how to read a nautical chart — but it's not going to babysit you. If you're okay with studying a chart and doing some simple math, you're fine.
You don't Automatically lose, but something's gone wrong. You'll watch your boat drift against the shore landmarks, which makes it pretty obvious. Then you haul back up, recalculate, move to a better spot, or head for deeper water. Dragging feels like failure because it is, but that's where the learning happens.
The base game has 12 different anchorages, each with its own difficulty level, seabed type, and tidal behavior. There are chart expansion packs available if you want more regions. The thing is, every single one plays differently — a technique that works in one spot might get you in trouble somewhere else.
You can pause when you're looking at the chart or tweaking settings. But once the anchor starts going down, time moves in real-time. You can't freeze the moment while you're watching the scope play out — that tension is kind of the whole point.
Yeah, you can. There's a 30-day window with no hassle. It's $34.99 and it's designed for a specific type of player. If it doesn't grab you, there's no shame in moving on.